Third-party visitor chat integration
Overview
This tutorial describes how third-party visitor chats can be integrated easily into Giosg platform. In this tutorial you will learn how to create Giosg App to setup webhooks and how to use basic Giosg API's to fetch information about chats, messages and visitors and also how to authenticate as a visitor.
This tutorial will use "Example Third-pary chat" application as an example. Project is written in Python using Django framework but implementation would be similar in other languages and frameworks.
Prerequisites
- Giosg account: Creating account
- Giosg account needs to have "Live" and "Giosg Apps" features enabled
- Knowledge about webhooks and HTTP requests, some basic programming skills
- Example Application https://github.com/giosg/ext-chat-connectivity-example source code
Concepts
Here is a list of concepts that you will see further down the tutorial and you should understand what they mean.
- Room: In Giosg rooms are a concept of grouping certain web sites or pages together or splitting them into smaller sections.
- Router: Routers can be assigned to rooms so that certain agents can be serving chat's coming from given room and more complex routing rules can also be applied.
- Visitor: We will call our trird-party example application users "visitors" in this tutorial. These can however be logged-in users also.
- Giosg app: Giosg Apps are simply third-party hosted web sites / applications and a way to extend agent user interface and are also required for webhook subscriptions.
Tutorial goal
Goal of this tutorial is to show how third-party visitor chats can be integrated easily into Giosg platform. We will be using this Example Python application to represent our third-party chat platform. This third-party chat will be the one that your visitors or customers would be using. We will be calling your chatting customers as visitors from this point on as a sake of simplicity. Your sales or customer service agents will be using Giosg console to handle chatting.
Understanding example application
We will be using this Example Python application to represent our third-party chat platform. Application has been writtten with Python and Django framework but as the communication is based on listening some webhooks and making HTTP requests to Giosg API's any language and framework could be used. You can find instructions on how to setup the application locally from the README.md file in the repository.
In this application we have three main modules: chat_app, giosg_api, giosg_webhooks.
Module called chat_app is basically an example of our third-party chat platform which we are connecting to Giosg. giossg_api module is then what holds all code that interacts with Giosg HTTP API's and giosg_webhooks is a module for hosting API's that will receive webhooks from the Giosg platform and provide your application realtime updates about new chats and messages.
How the app works
Application works so that it has very simple user interface (https://<your-app-domain>/chat) where your visitors could start a new chat conversation with your sales or customer service agents. When new chat is started, few HTTP request will be made to Giosg system to authenticate the visitor and start a new chat conversation. This will create a new chat task in Giosg system but it won't be yet visible to agents as there isn't any messages in the conversation.
Application only saves the visitor authentication data into it's own database when these first requests are made into Giosg HTTP API. This authentication data can then later on be used to send messages to Giosg platform.
All other information about the created chat will be delivered to the application from Giosg platform via a webhook. That means that when the chat was made to Giosg system, application will instanly get back HTTP request from Giosg which contains data about the created chat. This information is then stored on the application database so that it can be displayed to visitors without fetching that information from Giosg API's everytime it is needed.
When chat has been created, visitor is able to send a message to the conversation. Sending messages works similarly to chat creation, application just calls Giosg HTTP API's to send the data to existing chat conversation and does not need to save anything to own database at this point because the messge will be delivered back to the application via webhook. When message webhook get's received, application will store it's information into it's own database for easy and fast access in the future.
When first message by the visitor gets send into a chat, it will change chat task status on Giosg platform into a "pending" state. This means that the chat is offered to agenst based on the configured routing rules.
Whenever agents reply to visitors message, a webhook gets once again send to the application which can save the message into it's own database and could for example show a push notification to visitor in case of a mobile application. Note that push notification support is not implemented in this simple demonstration.
Now when we know how the application works, lets set it up and test it.
Setting up the example application locally
For this part you need to have at least Python 3.8 and git installed.
First clone the repository to your local computer. It is recommened that you create a new Python virtulenv to install all dependencies into. You will need at least Python 3.8. When you have clone the repository, you may install dependencies with pip install -r requirements.txt.
Setting up credentials
Next you will need some credetials and constants to be setup correctly for the Example application.
First thing we need is our Giosg organization ID. We can get that by logging in to Gisog account and going to Account information page. From the page copy the value of field "Account UUID" which should look like this: d6cb8dc7-f490-4ccb-b844-b5e471daa0c4.
Now open settings.py file in the example application and find line with GIOSG_ORGANIZATION_ID and assign it the value you just copied. This value is used in the URL's when making API calls.
Next we will need API token for our app to be able to fetch infromation from Giosg HTTP API's. You can create token like this: Log in to Console → Settings Menu → Company → Access tokens. Name the token for example "Example app token" and copy the value, it is shown to you only once! Place the token value to GIOSG_API_TOKEN in settings.py file.
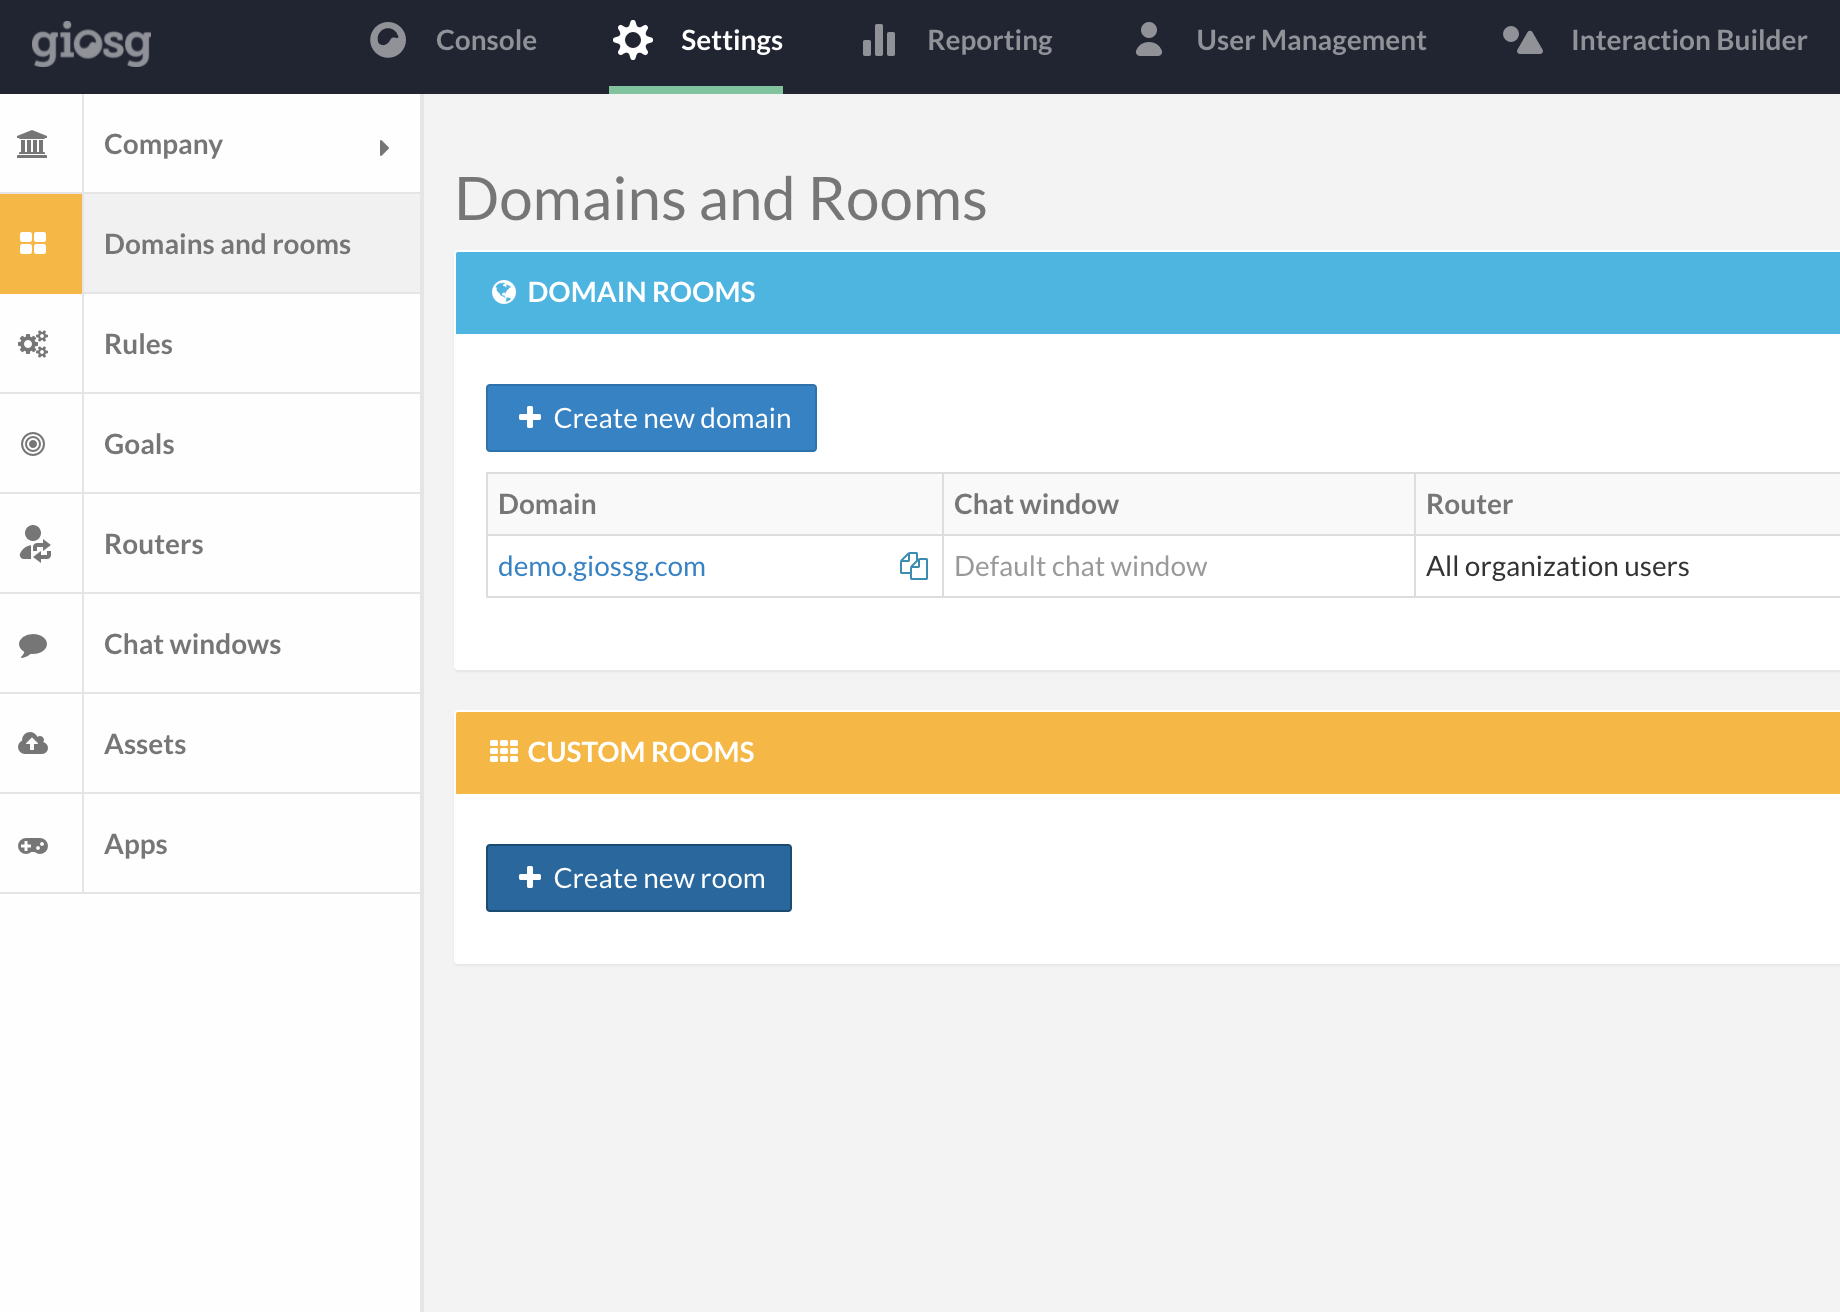
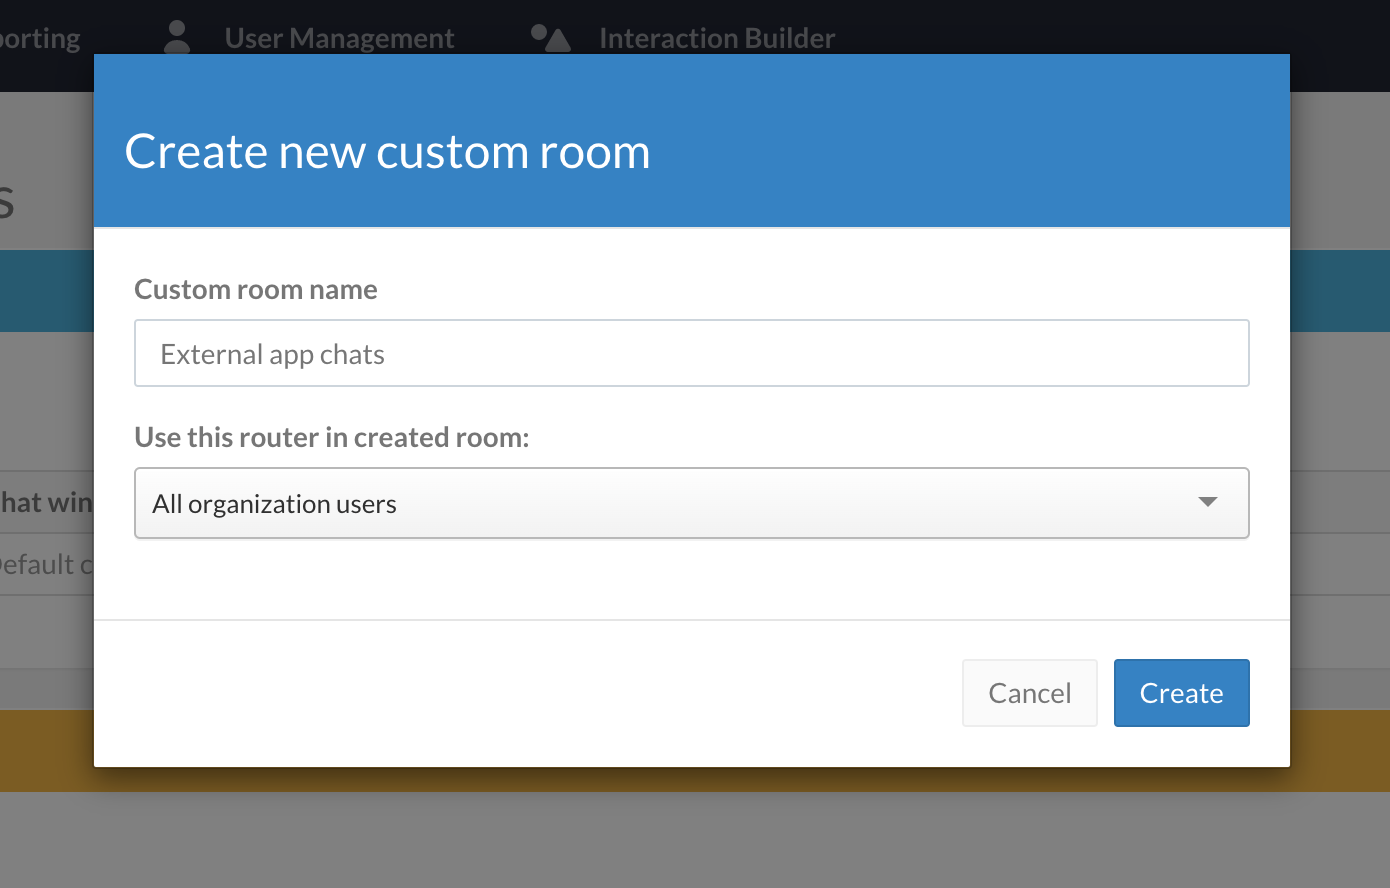
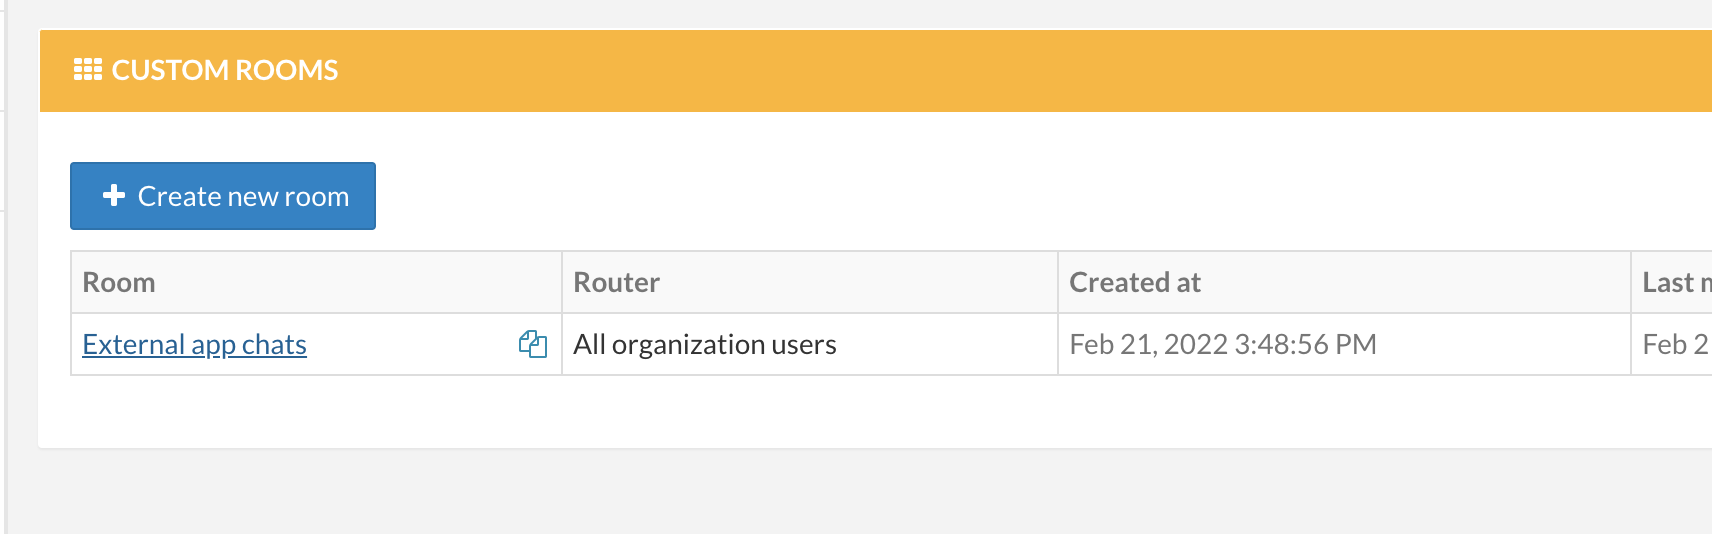
Last thing we need to configure is our room ID. In Giosg rooms are a concept of grouping certain web sites or pages together or splitting them into smaller sections. Go to room management and click "Create new room" under "Custom rooms" section. We create custom room for our example application so we can route chats from the application to specific agents if we wish so. Leave "Use this router in created room" to "All organization users" for now.
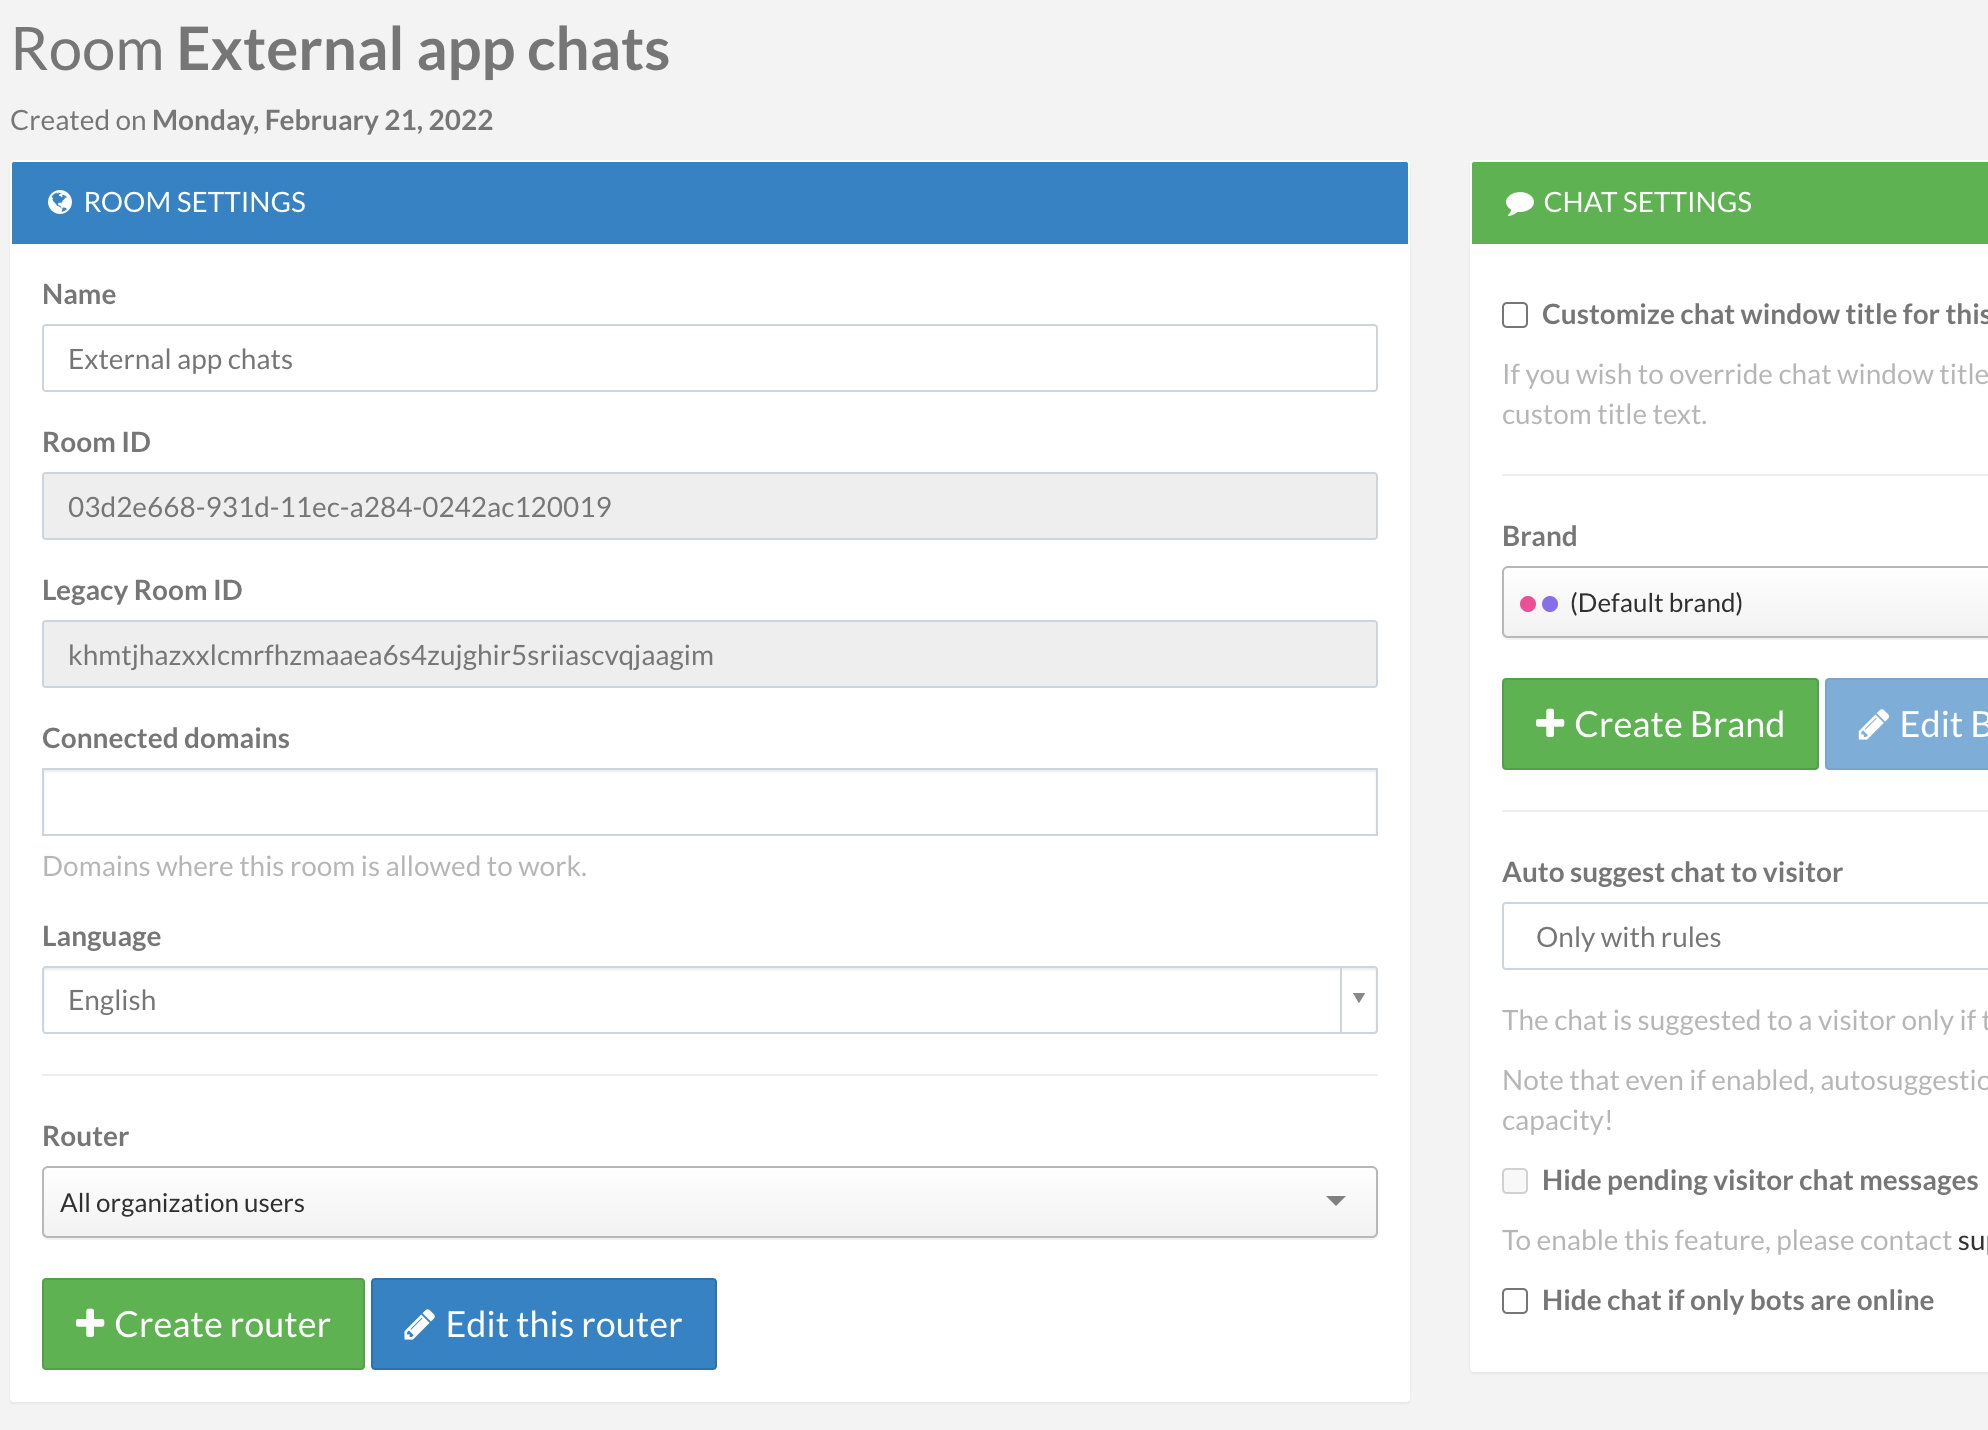
When you have created the room, open the room details page and copy the value from field "Room ID" and paste it into settings.py to GIOSG_ROOM_ID.
After you have completed the steps above, your settings.py file should look similar to this:
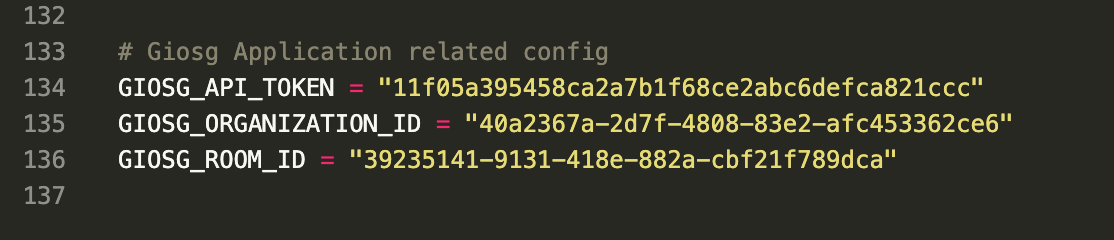
Note
This example application is not production ready and you should not hardcode any secrets nor add them to any repository. Consider using environment variables for production.
Running the app
After installing dependencies you should migrate the database of the example application. Application uses SQLite database so it will be just a file on the directory called db.sqlite3 so you don't need to have any database server running. Migrate the database by running ./manage.py migrate on ext_connectivity_example directory. Now you may start the application by running ./manage.py runserver on the same directory. You should now be able to access the application UI by going to http://localhost:8000/ with your browser.
Setup HTTPS tunnel to your application
In order to be able to receive webhooks aka HTTP requests from Giosg platform, your application needs to be visible to internet. You may accomplish this by deploying example application to some cloud hosting, kubernetes cluster, VPS or as in our case locally but with Ngrok which allows us to have HTTPS tunnel to our local machine.
You can find instructions on how to install and setup Ngrok to your platform from their website.
When you have completed the setup, you should be able to start the tunnel simply by running ngrok http 8000. This will expose your local port 8000 publicly and you can get the domain assigned to you from the Ngrok output. This is the domain that you should use when configuring webhooks on Giosg platform further down this tutorial.
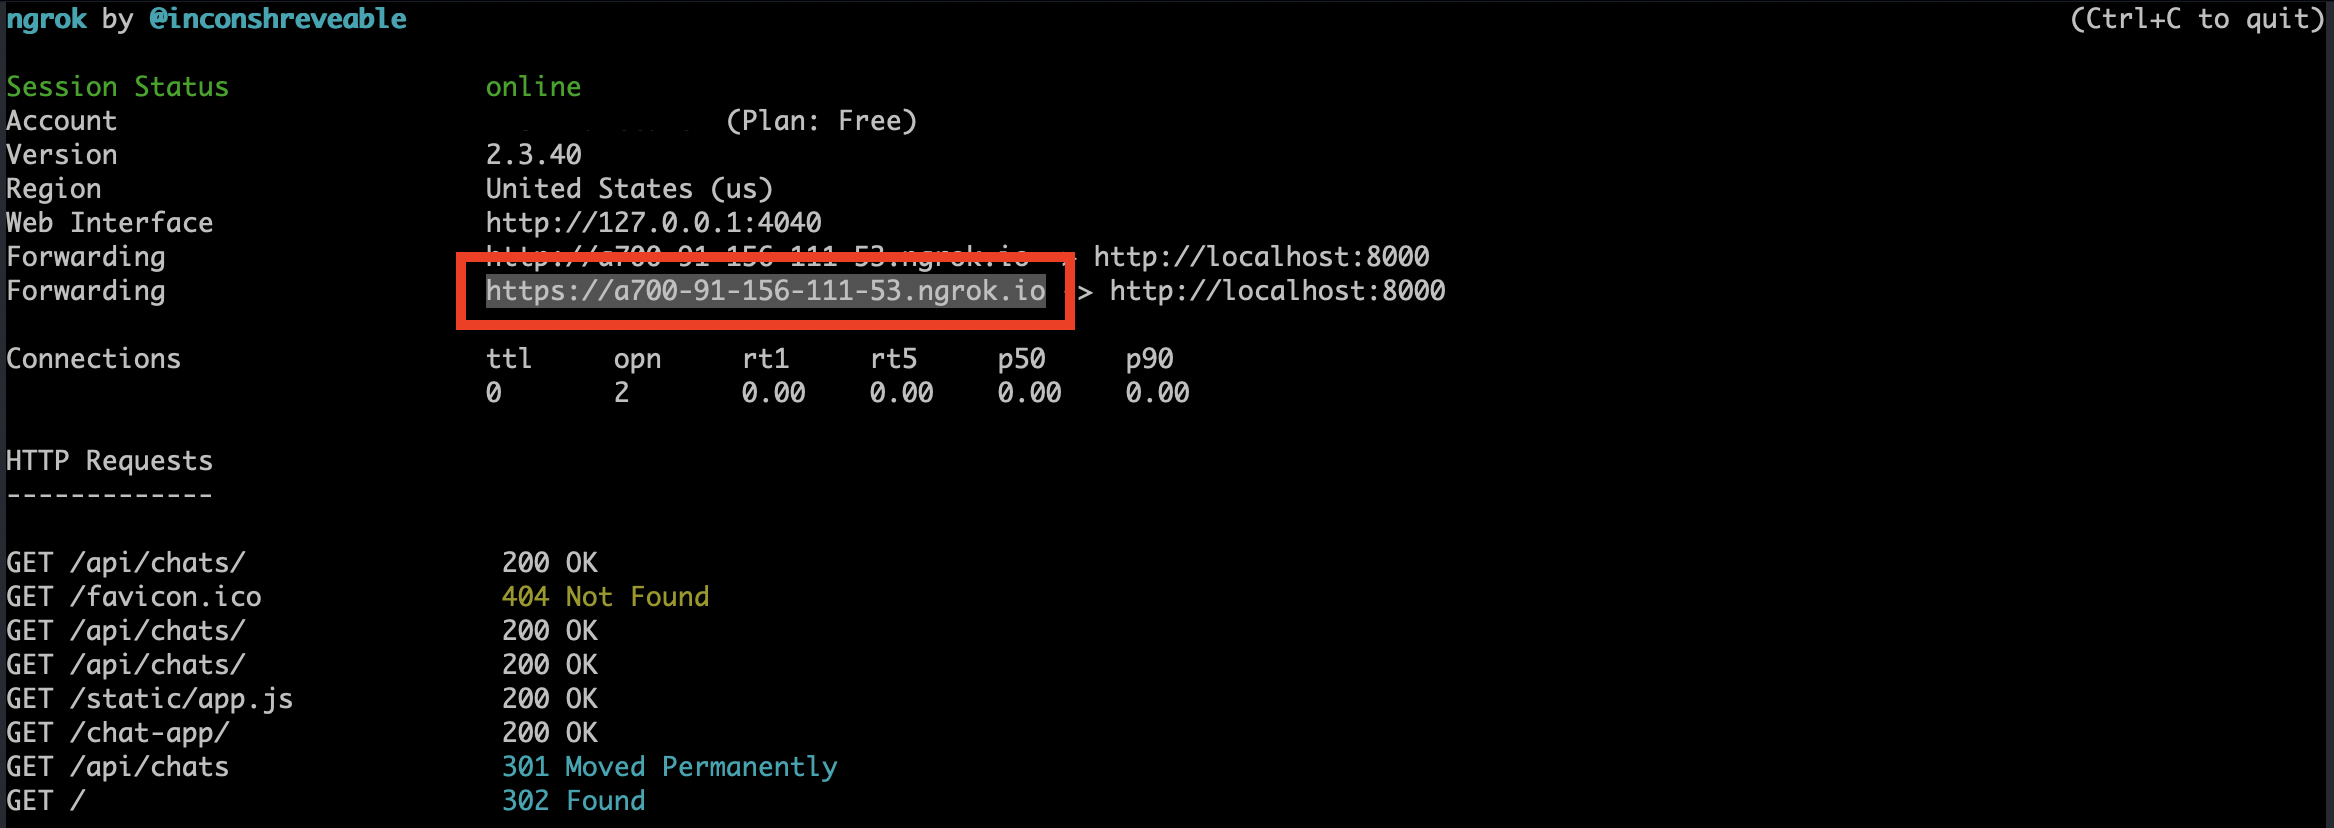
You can check if the forwarding works by going to the Ngrok address with your browser, for example https://1b22-91-156-111-53.ngrok.io. If there is problems, make sure that your firewall allows traffic to that port and if you have the application running (./manage.py runserver).
Note
When using free version of Ngrok your domain will change each time you restart the ngrok which means that you also need to update webhook addresses in Giosg App.
Setting up Giosg App and webhooks
Next we want to connect our external chat application to Giosg platform in order to be able to receive webhooks.
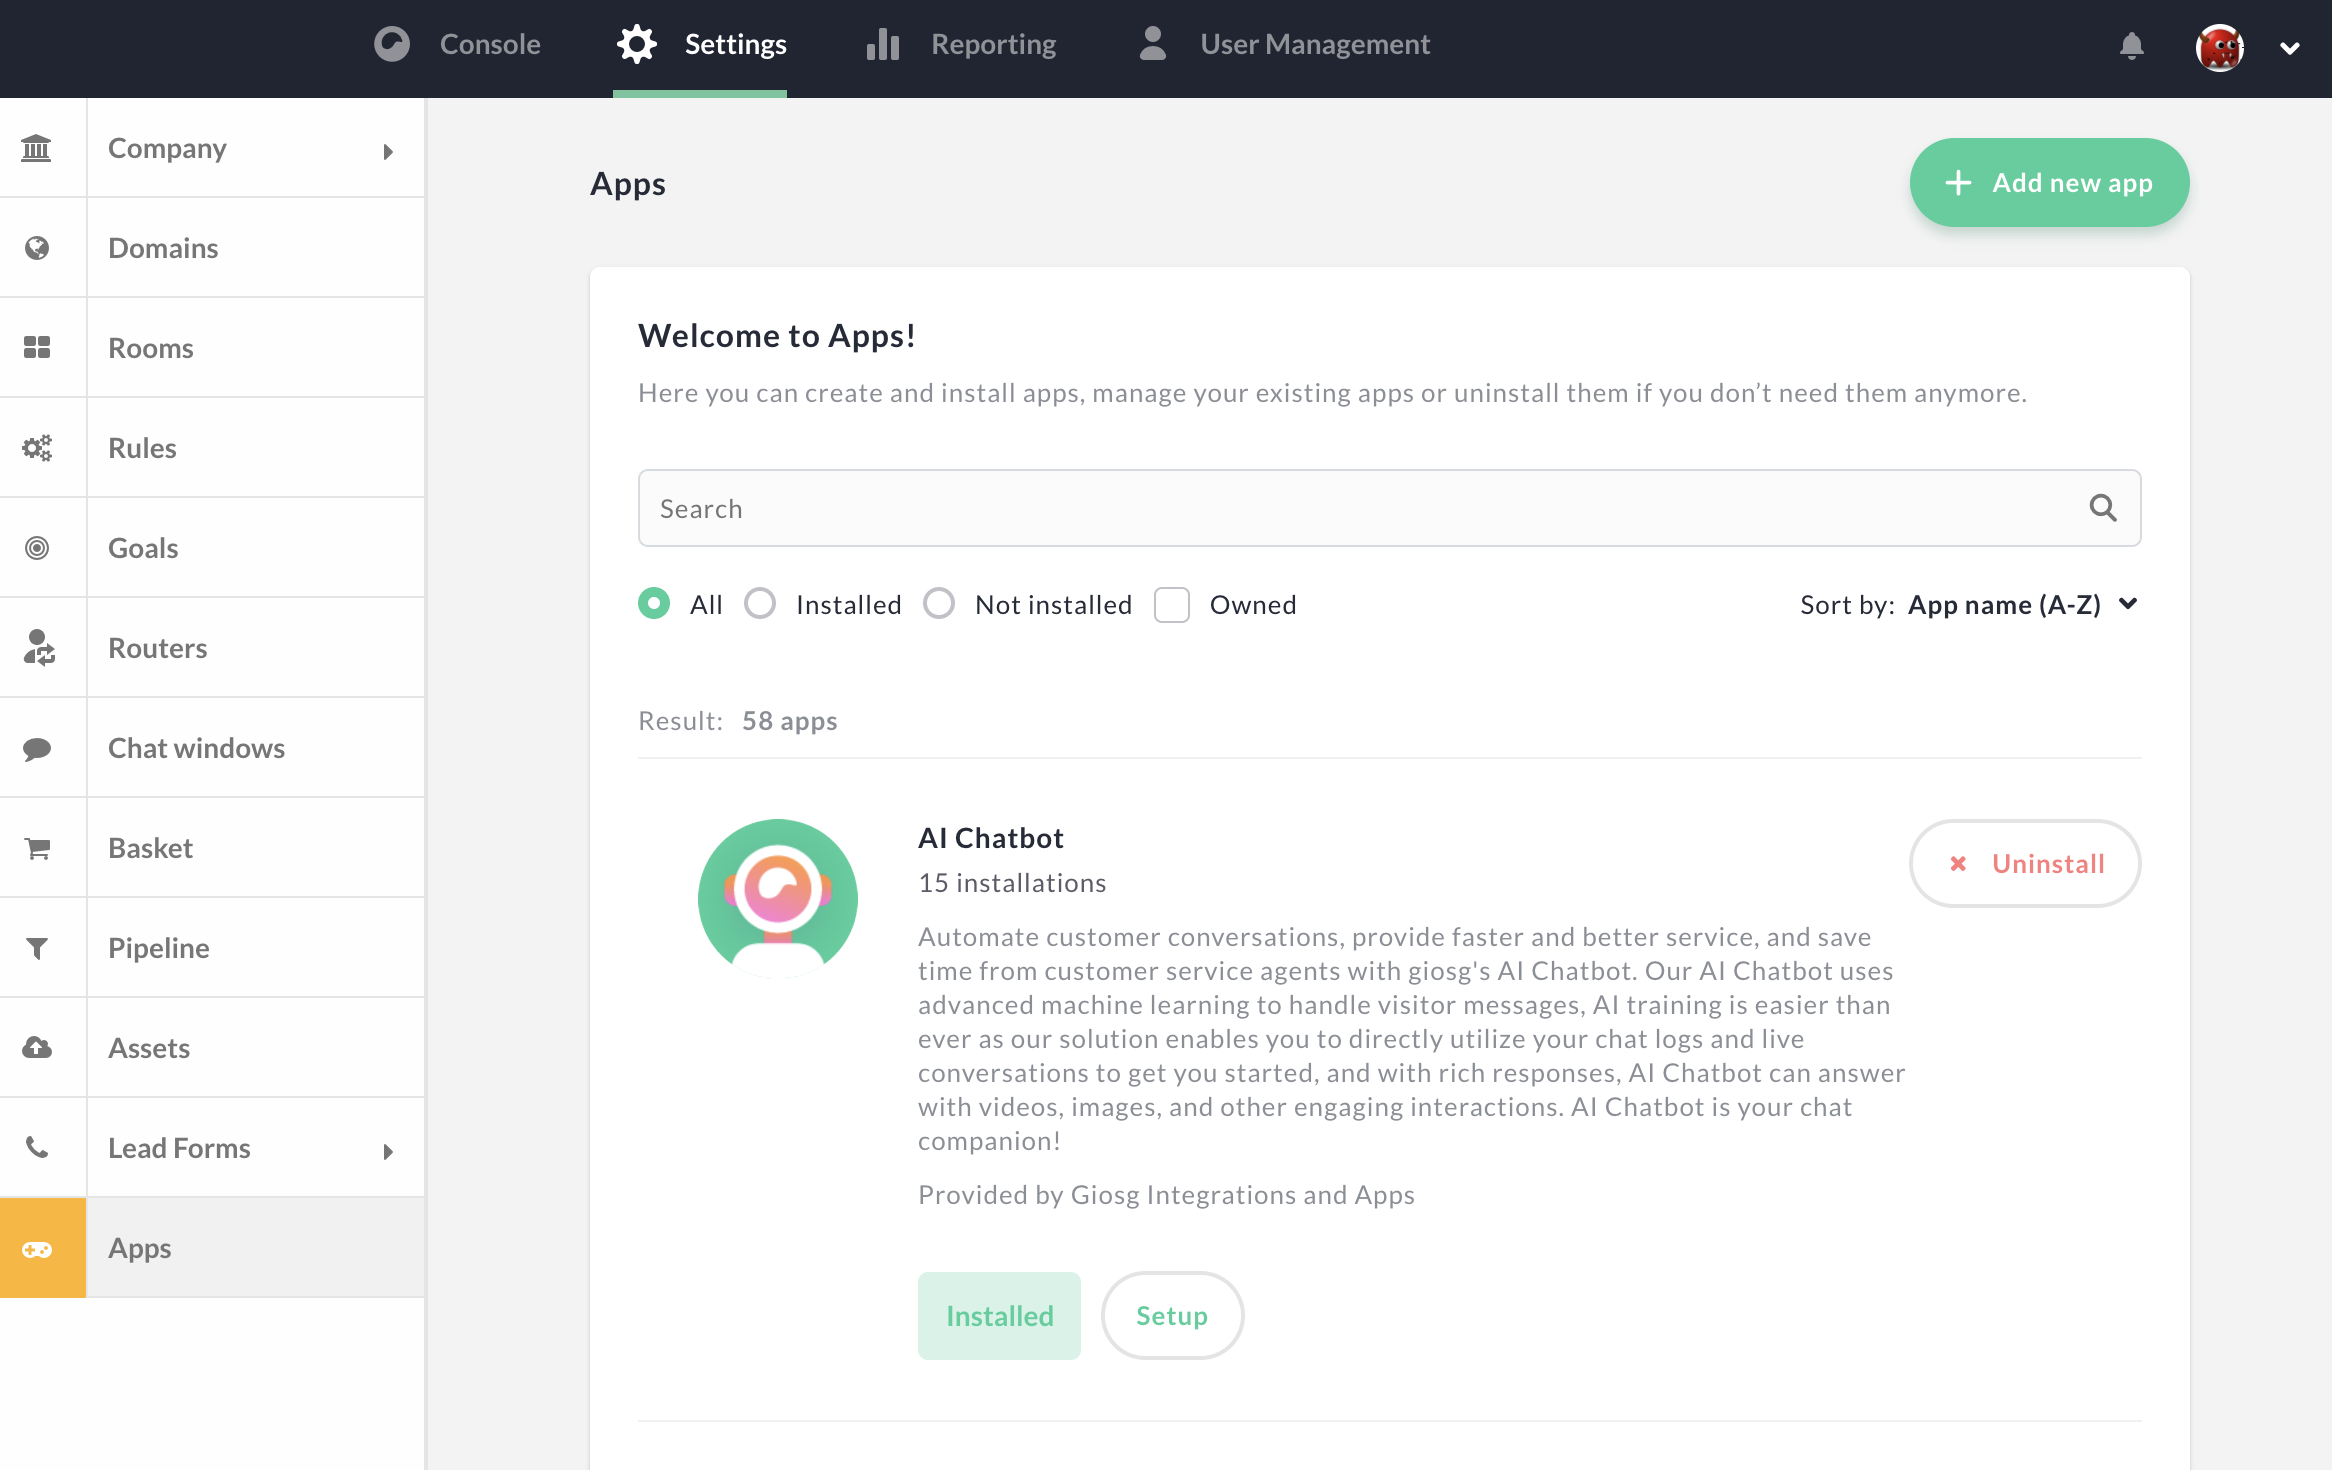
For this Giosg has concept of Apps which can be created and configured to receive webhooks from Giosg platform. To create a new Giosg App, login to Giosg console and navigate to application management page.
From the application management page, click "Add new app" button to get into new application creation page where you can input basic information for your application like name, icon and description. Some of the fields like "terms of service" and "privacy policy" urls are mandatory but as this demo application will be only available to your organization so it does not matter too much what you put into those.

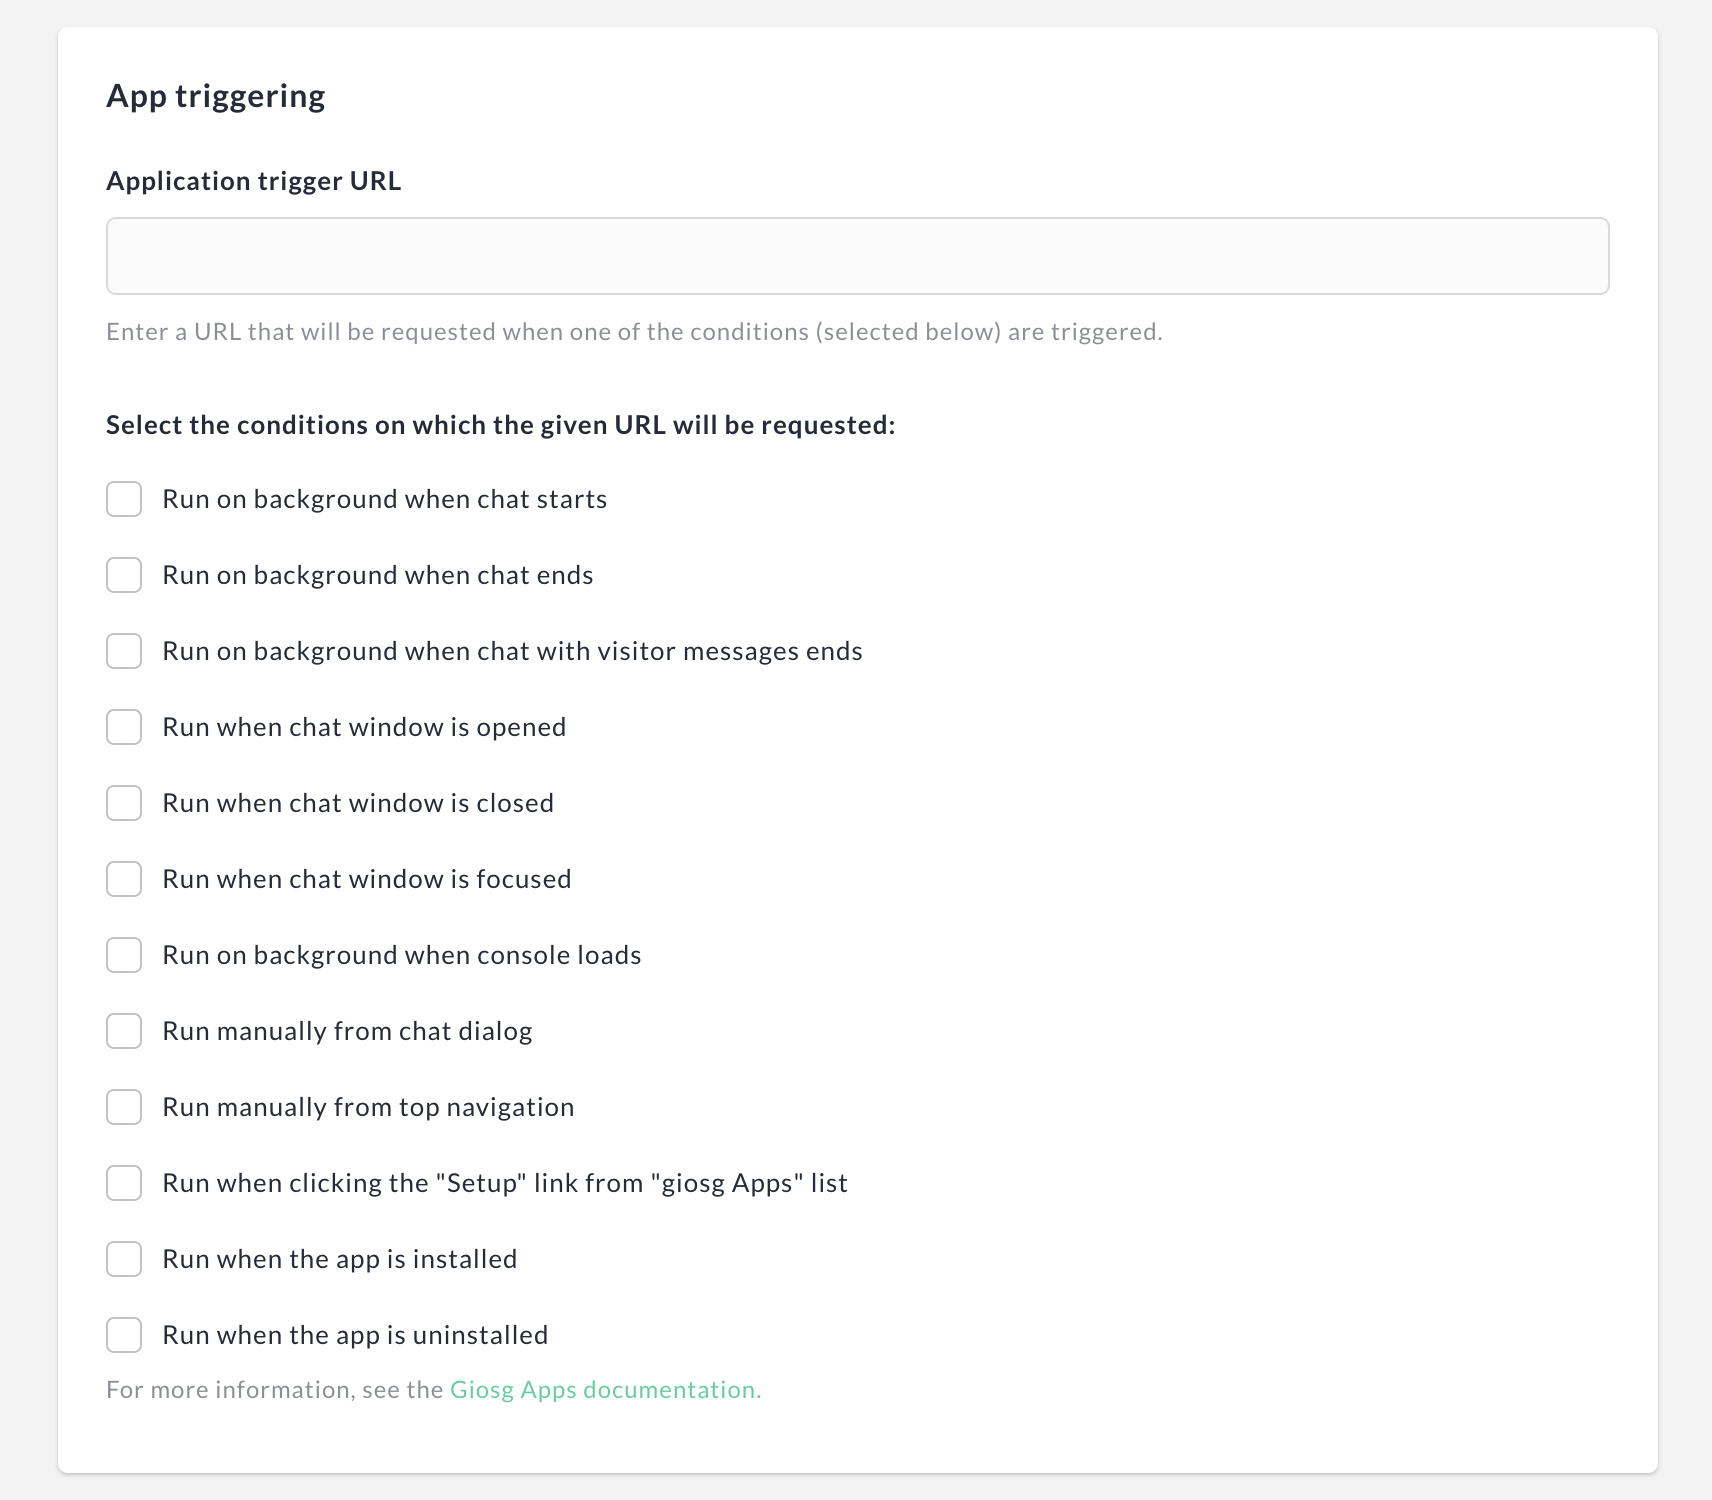
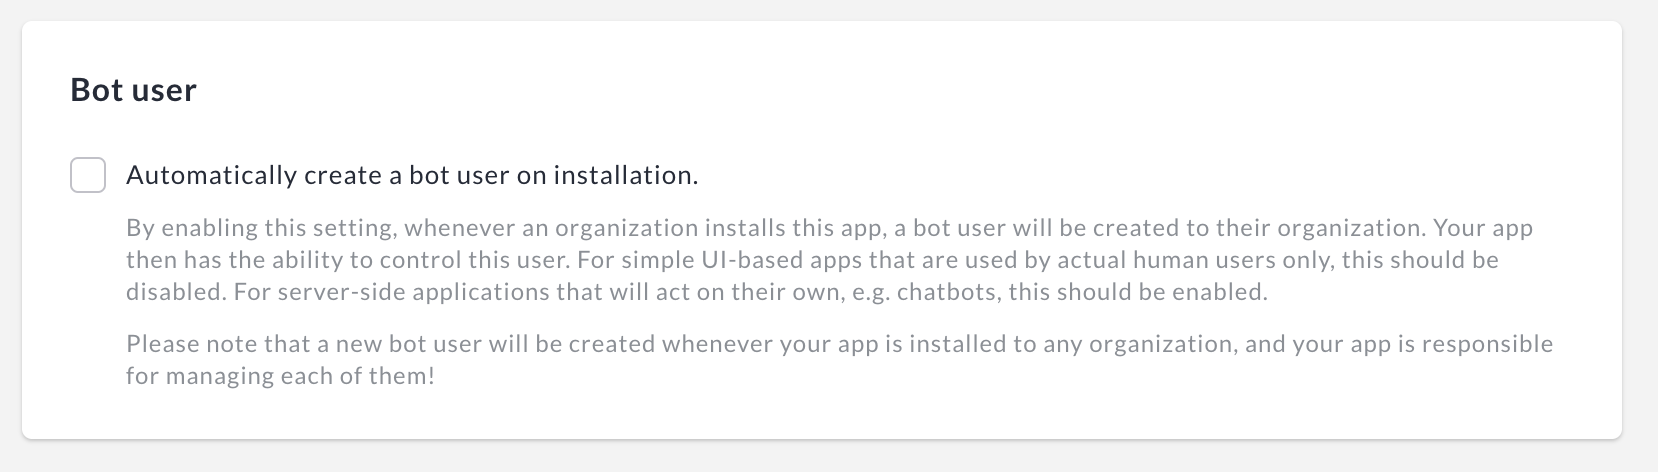
In our tutorial we will be only interested on configuring webhooks for our app so we can leave the next section called "App triggering" completely empty. These are conditions where you could also start your application and some of them work similarly to webooks except that they can also display your app's UI to agents. If you want learn more you may read Giosg App development tutorial. We don't need "Bot user" for our application in case of this demo so that section can be left empty also.
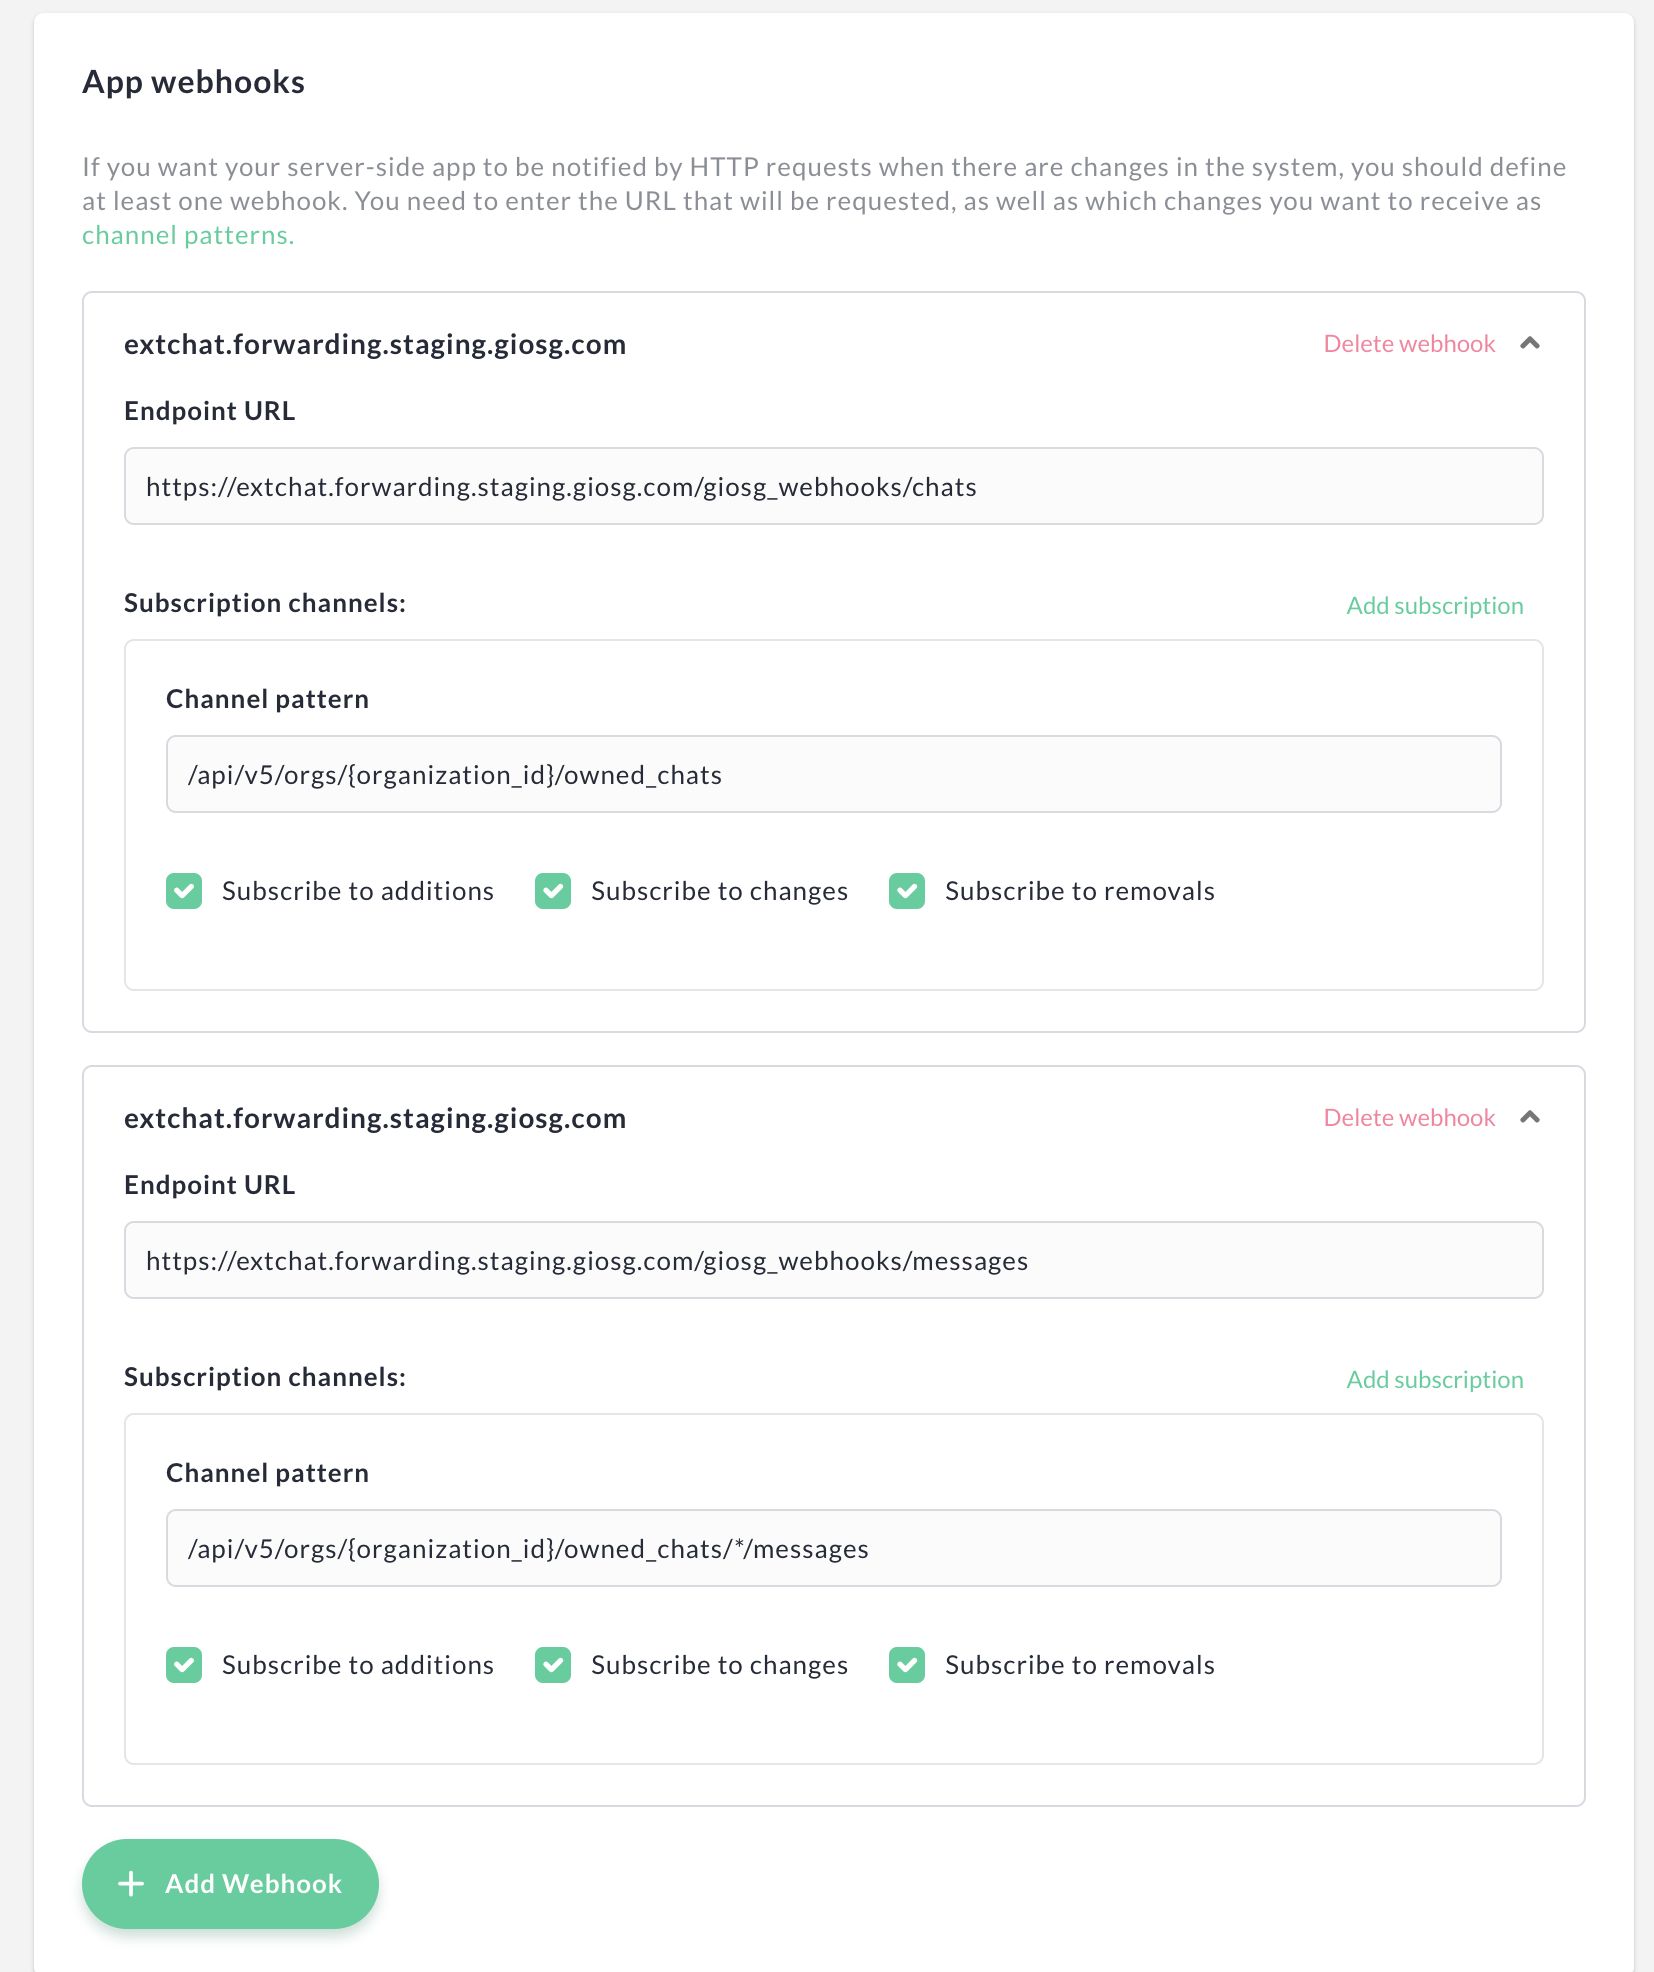
Next in the application configration page there is webhook section and that is what we are interested in this tutorial. We will configure two webhooks for our application, notification about chat's and messages to those chat's.
Giosg webhooks have same payload as corresponding HTTP API's which can be found from the API reference section of documentation. Almost all API's can be subscribed to get webhooks from. Difference with webhook payload compared to API response is that if the webhook is send when some resource changes, then the payload will only contain the changed fields. If you need the full reasource for some reason, you need to use the resource_id and fetch the object using HTTP request. Users may subscribe to additions, changes and deletions on webhook configuration section. In this tutorial we subscribe to all of those event's.
Add following webhooks configrations for your app:
- For chats use channel pattern
/api/v5/orgs/{organization_id}/owned_chatsand as "Endpoint URL" use the following URL:https://<your-app-domain>/giosg_webhooks/chats. Replace<your-app-domain>with the domain where your app can be accessed from. See HTTPS tunnel setup. - For messages use channel pattern
/api/v5/orgs/{organization_id}/owned_chats/*/messagesand as "Endpoint URL" use the following URL:https://<your-app-domain>/giosg_webhooks/messages. Replace<your-app-domain>with the domain where your app can be accessed from. See HTTPS tunnel setup. - For both webhooks, subscribe to additions, changes and deletions. Now
/giosg_webhooks/chatsAPI on the example application will be called on all chat related events and/giosg_webhooks/messageswhen ever there is a message event.
We have now completed most of the app configuration and for the remaining fields you may configure them as shown in the image below as we want to keep our application private and don't have a need for OAuth 2.0.

You should now save you application and next we can install it and test if it works correctly.
Installing the application
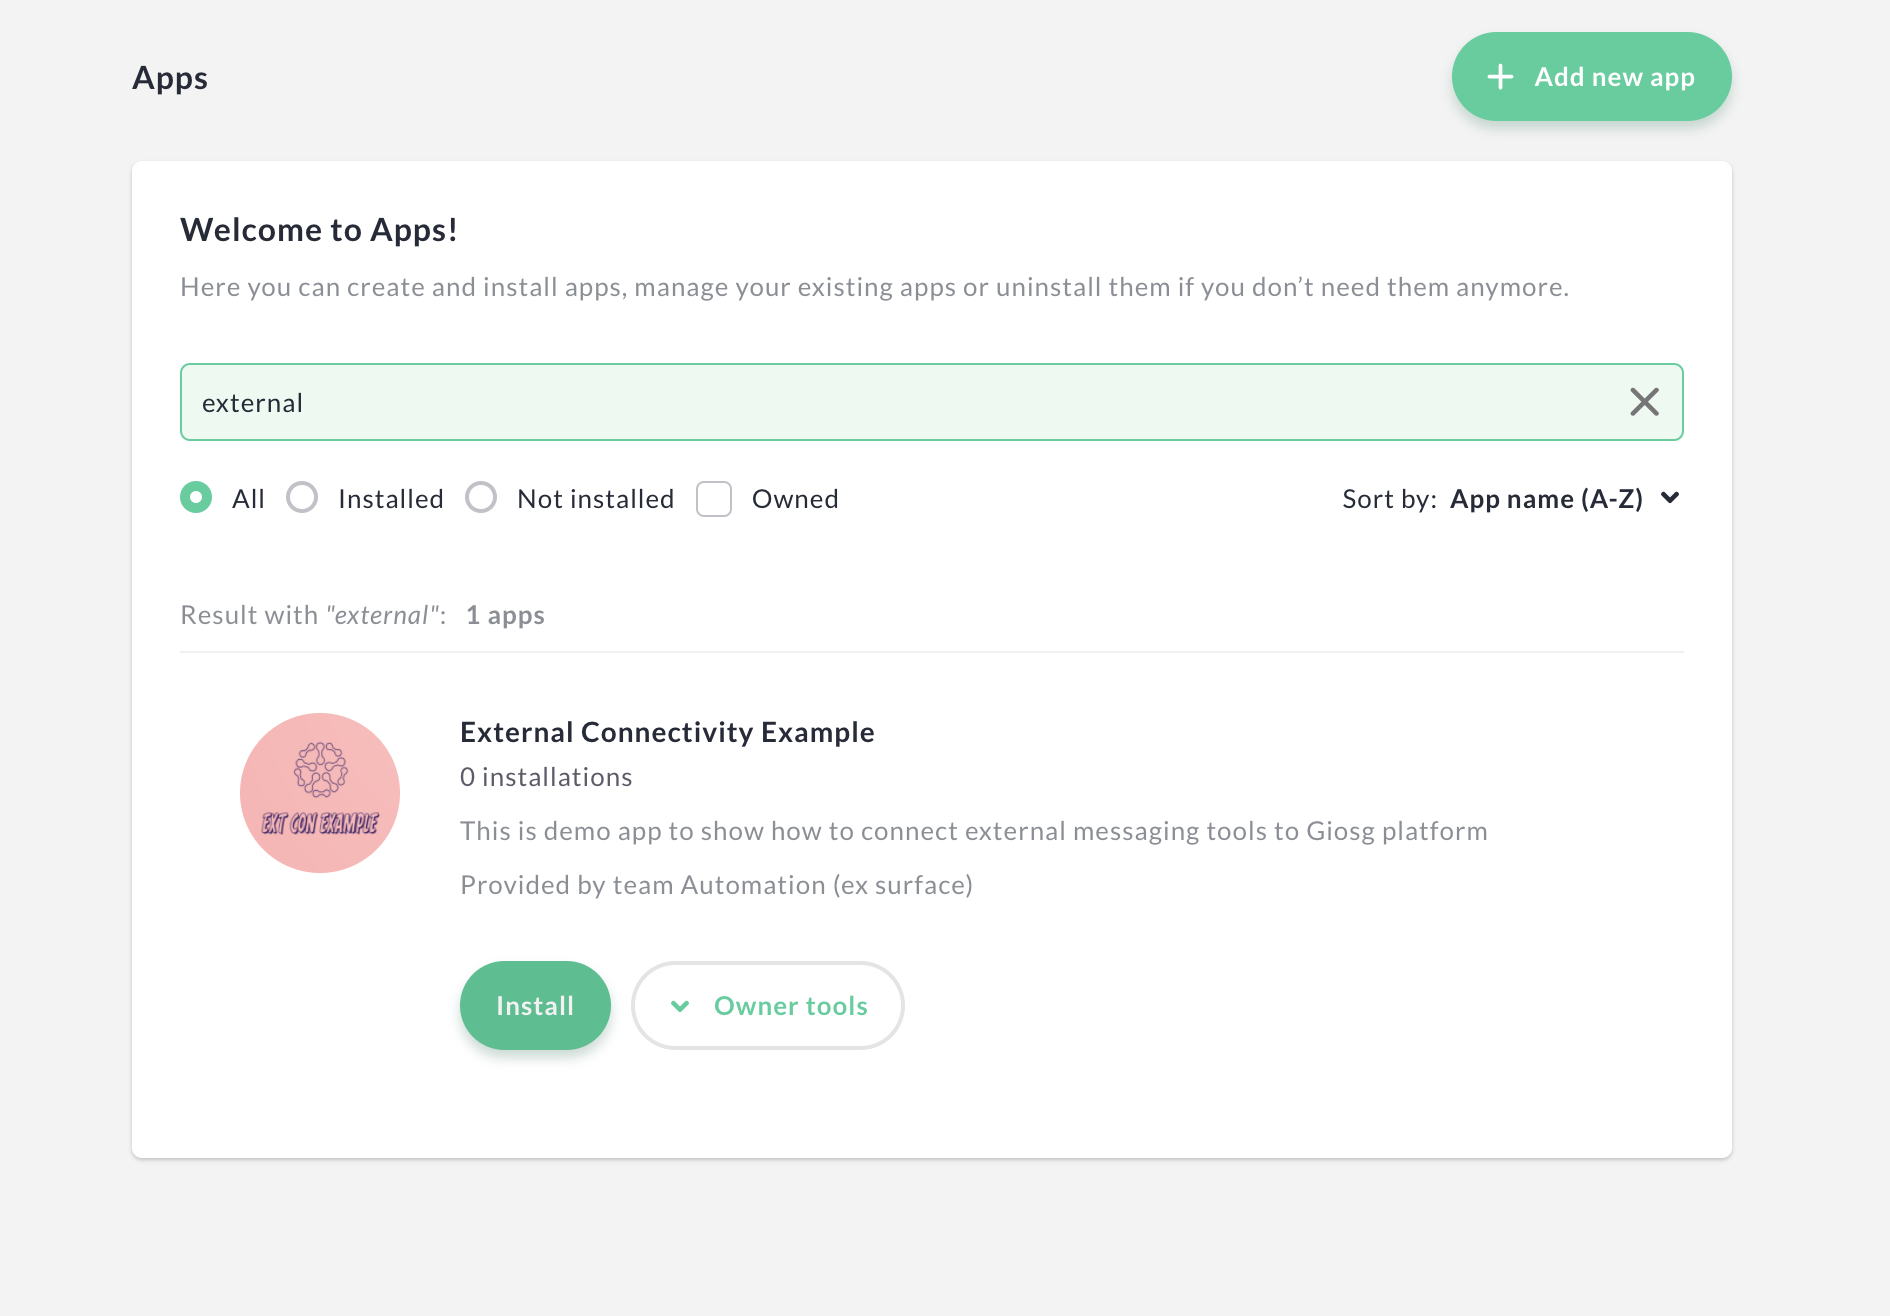
Before the Giosg App we just created can work, we need to install it. To install the app, go back to application listing and search for the application you just created and click "Install".
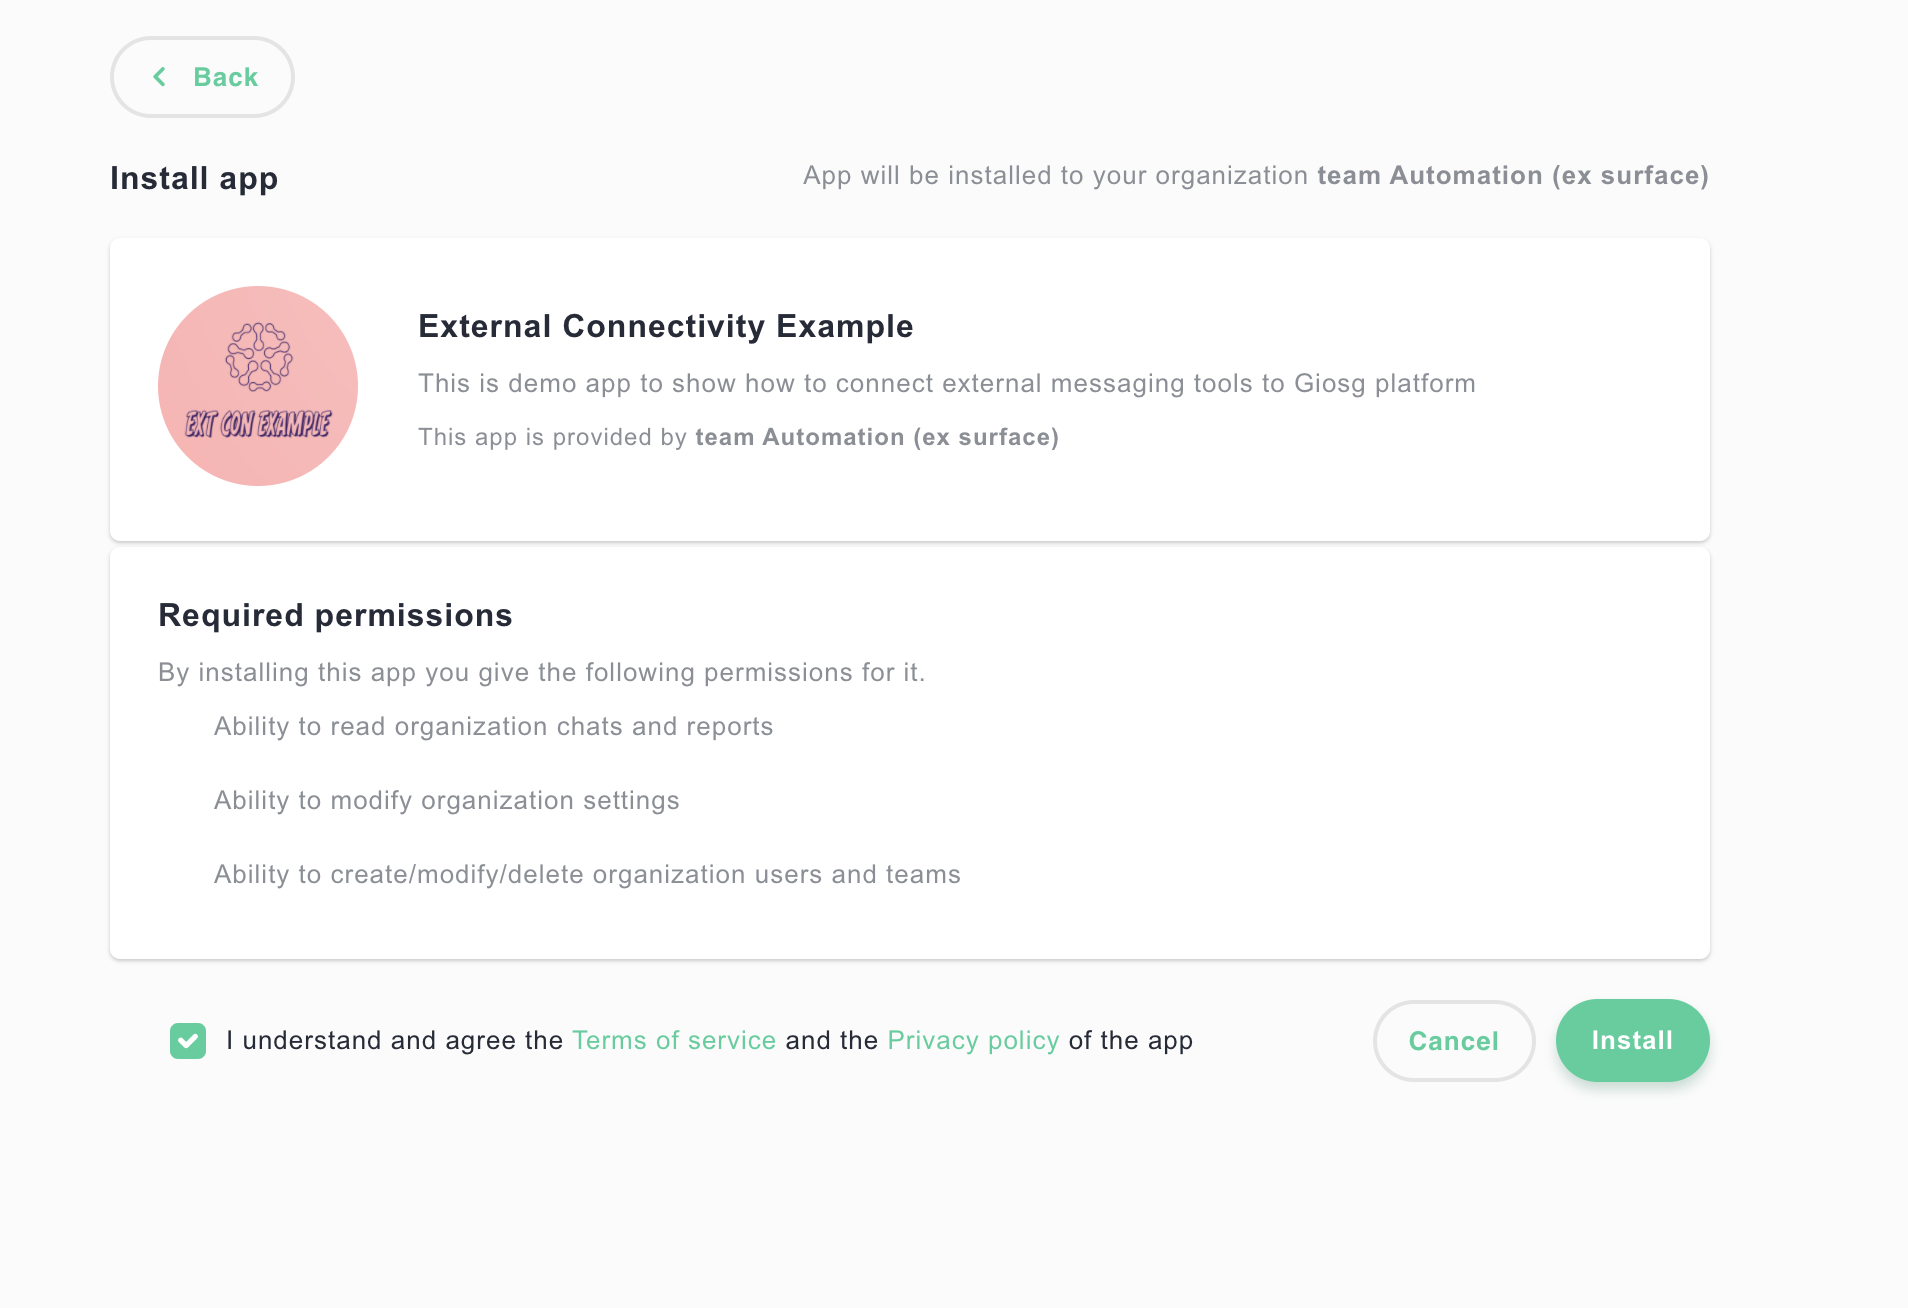
On next screen, you need to check terms and conditions checkbox and click "Install" to complete the installation.
Your Giosg app is now ready for use and we can next test chatting with out example application.
Testing the application
To test the our application, make sure that you still have the HTTPS tunnel (or any other way to connect to example application from internet) running and also that the example application is running.
Open Giosg agent console page in your browser and on another tab open our example application by going to http://localhost:8000.
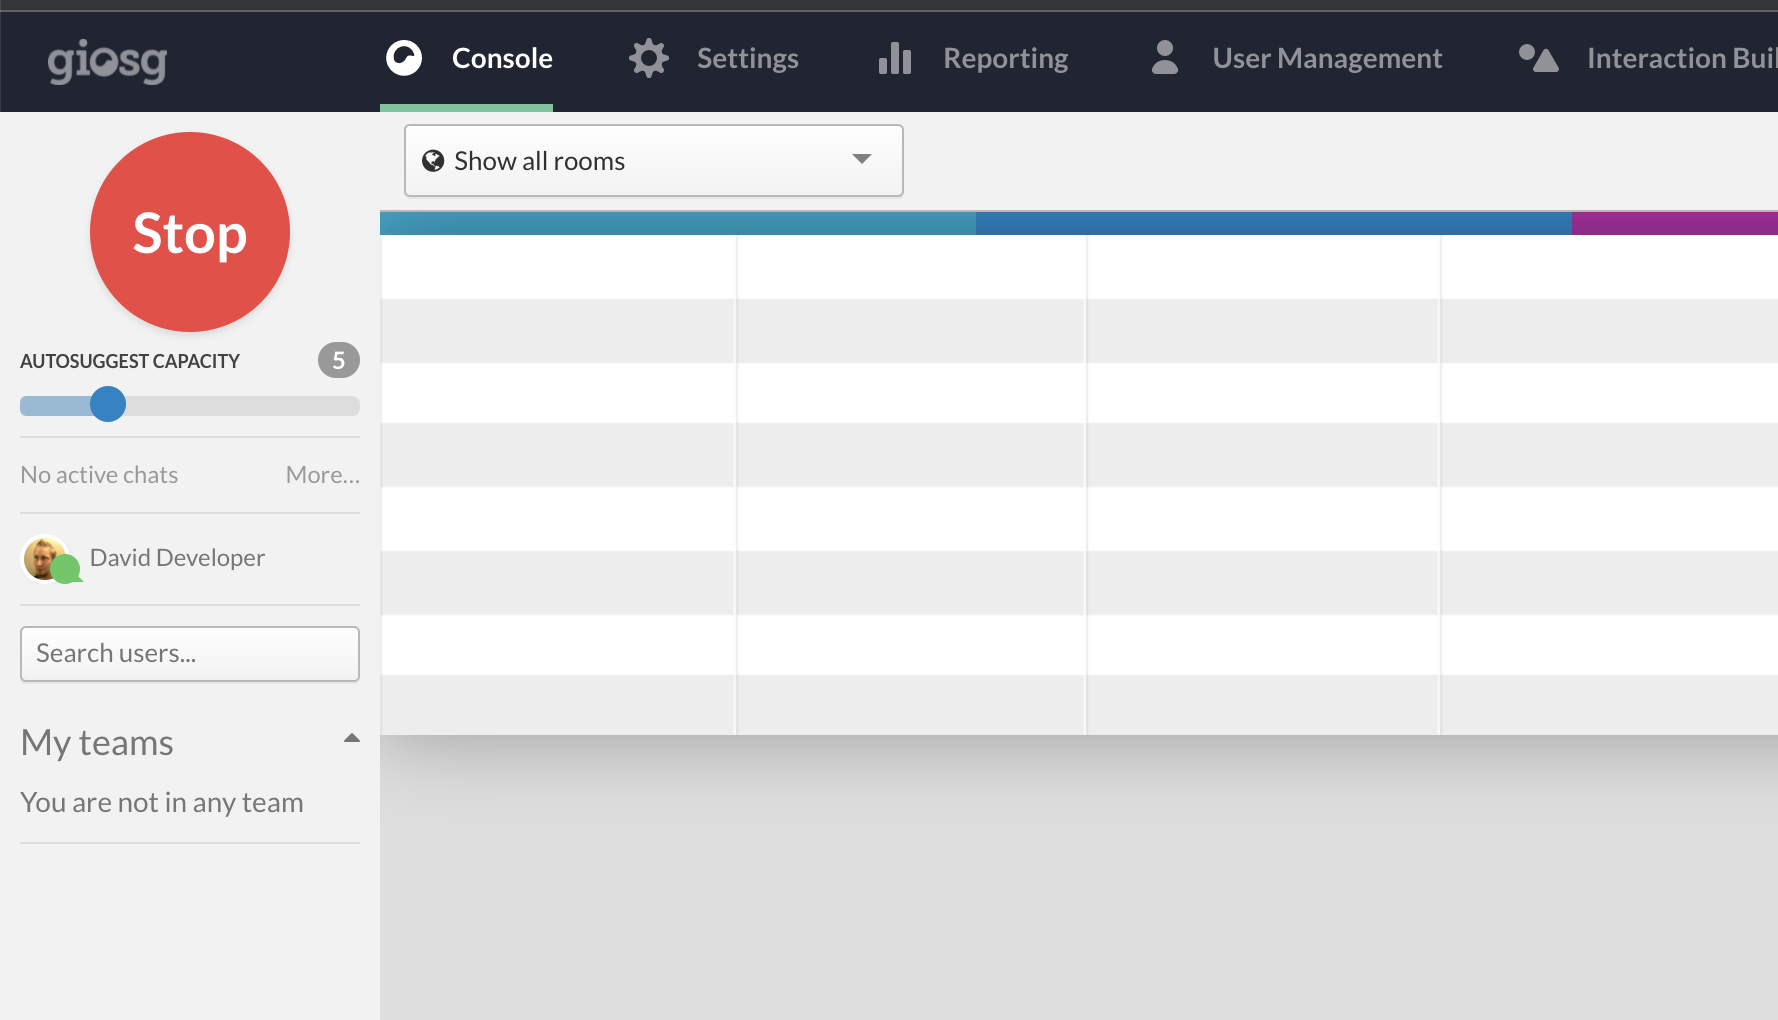
On Giosg agent console, make sure that you see big round red button which says "Stop" in it. If you instead see green round button with "Start" text, click it to go online and start accepting chats. This is needed in order our third-party application to be able to create new chats.
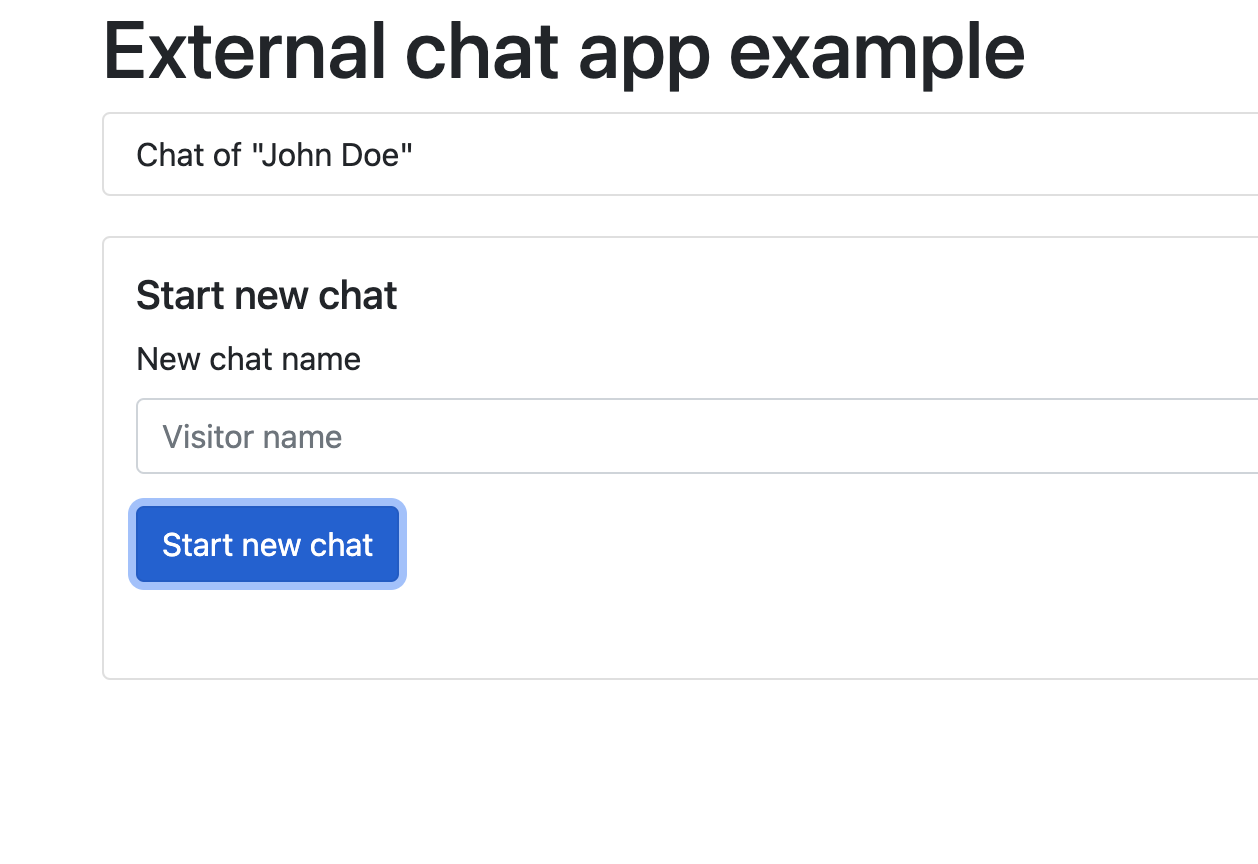
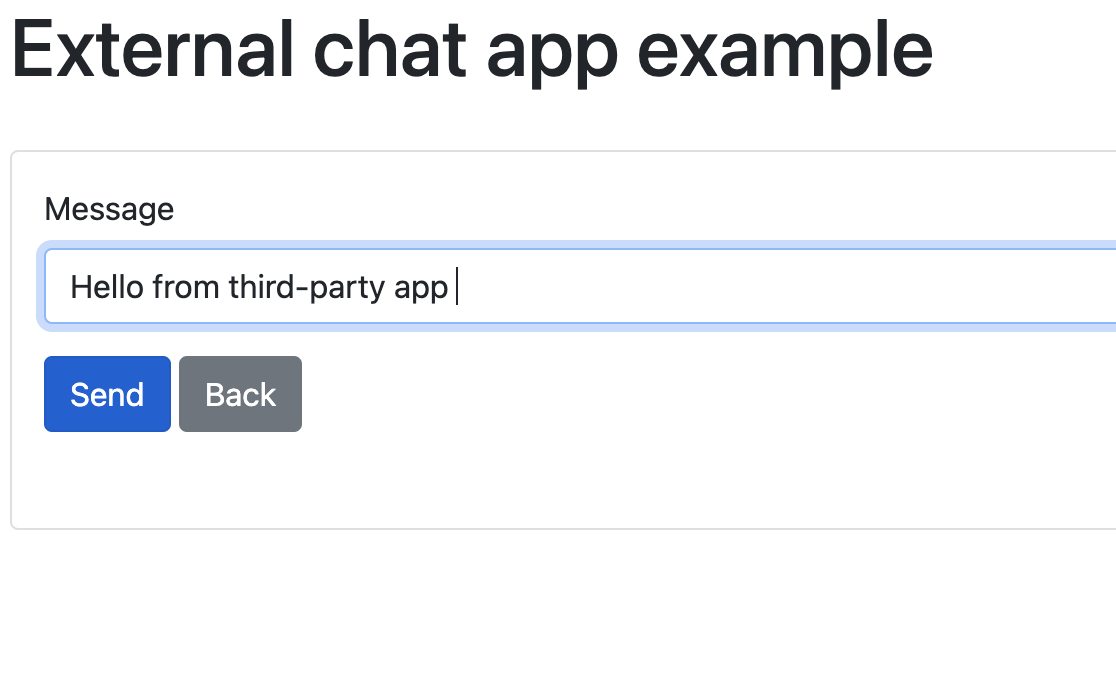
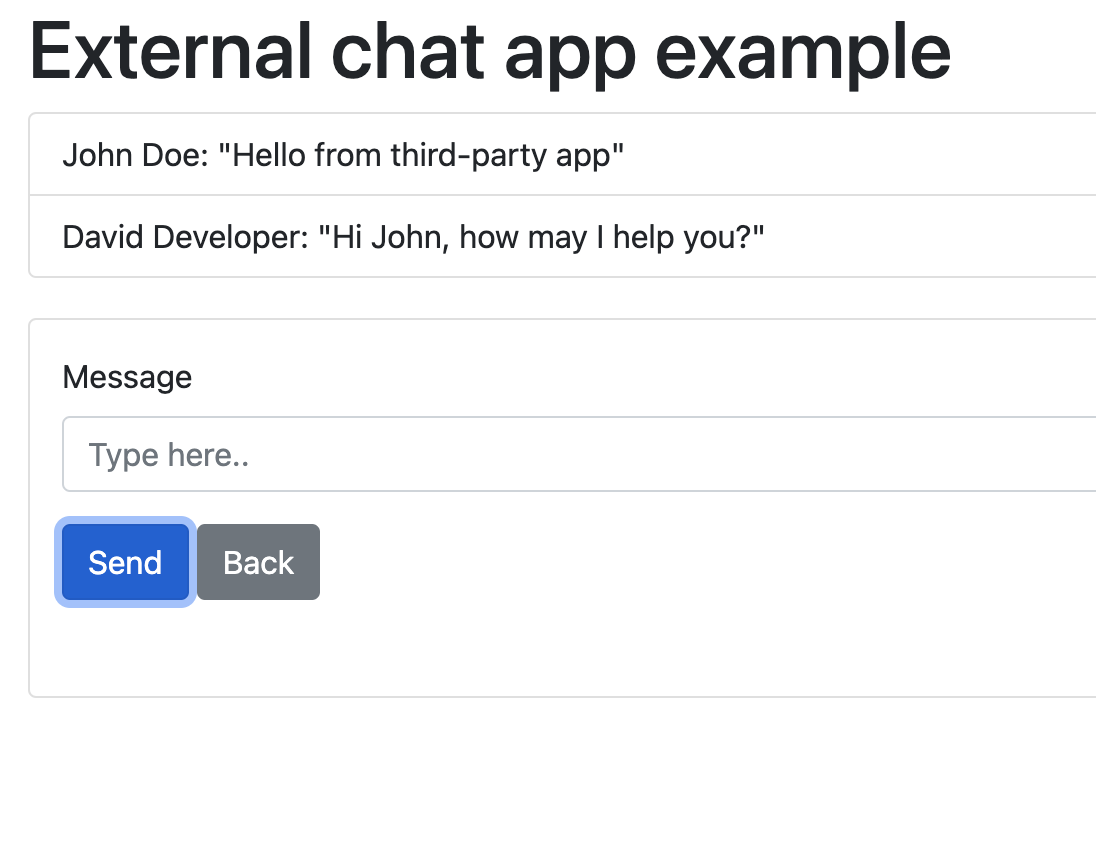
 Now switch to our example application tab and give a name for the chat and click "Start new chat". Ater clicking the button, you should see newly created chat appearing on top of the form fields. You can now open the chat by clicking it's name and you are able to send a message to chat as a visitor.
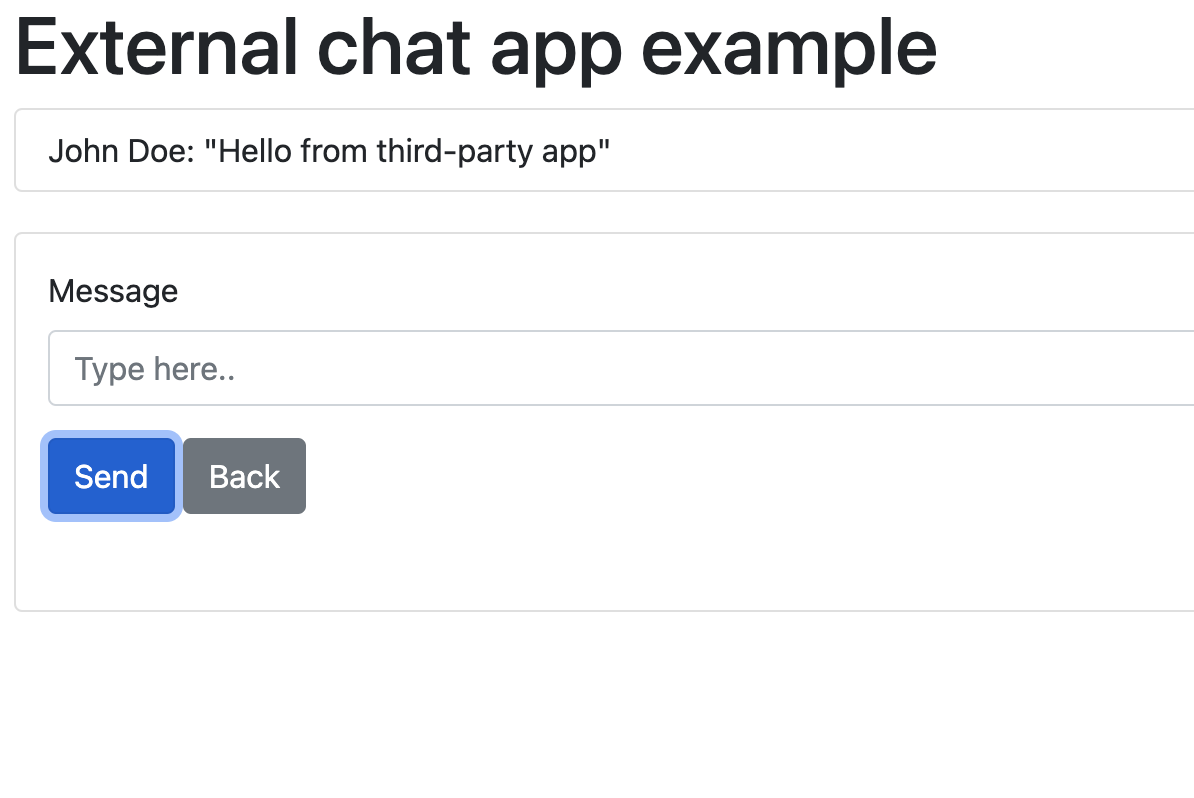
After couple seconds the message will be visible on our example application and also Giosg agent console will start "ticking" indicating that there is pending chat task waiting.
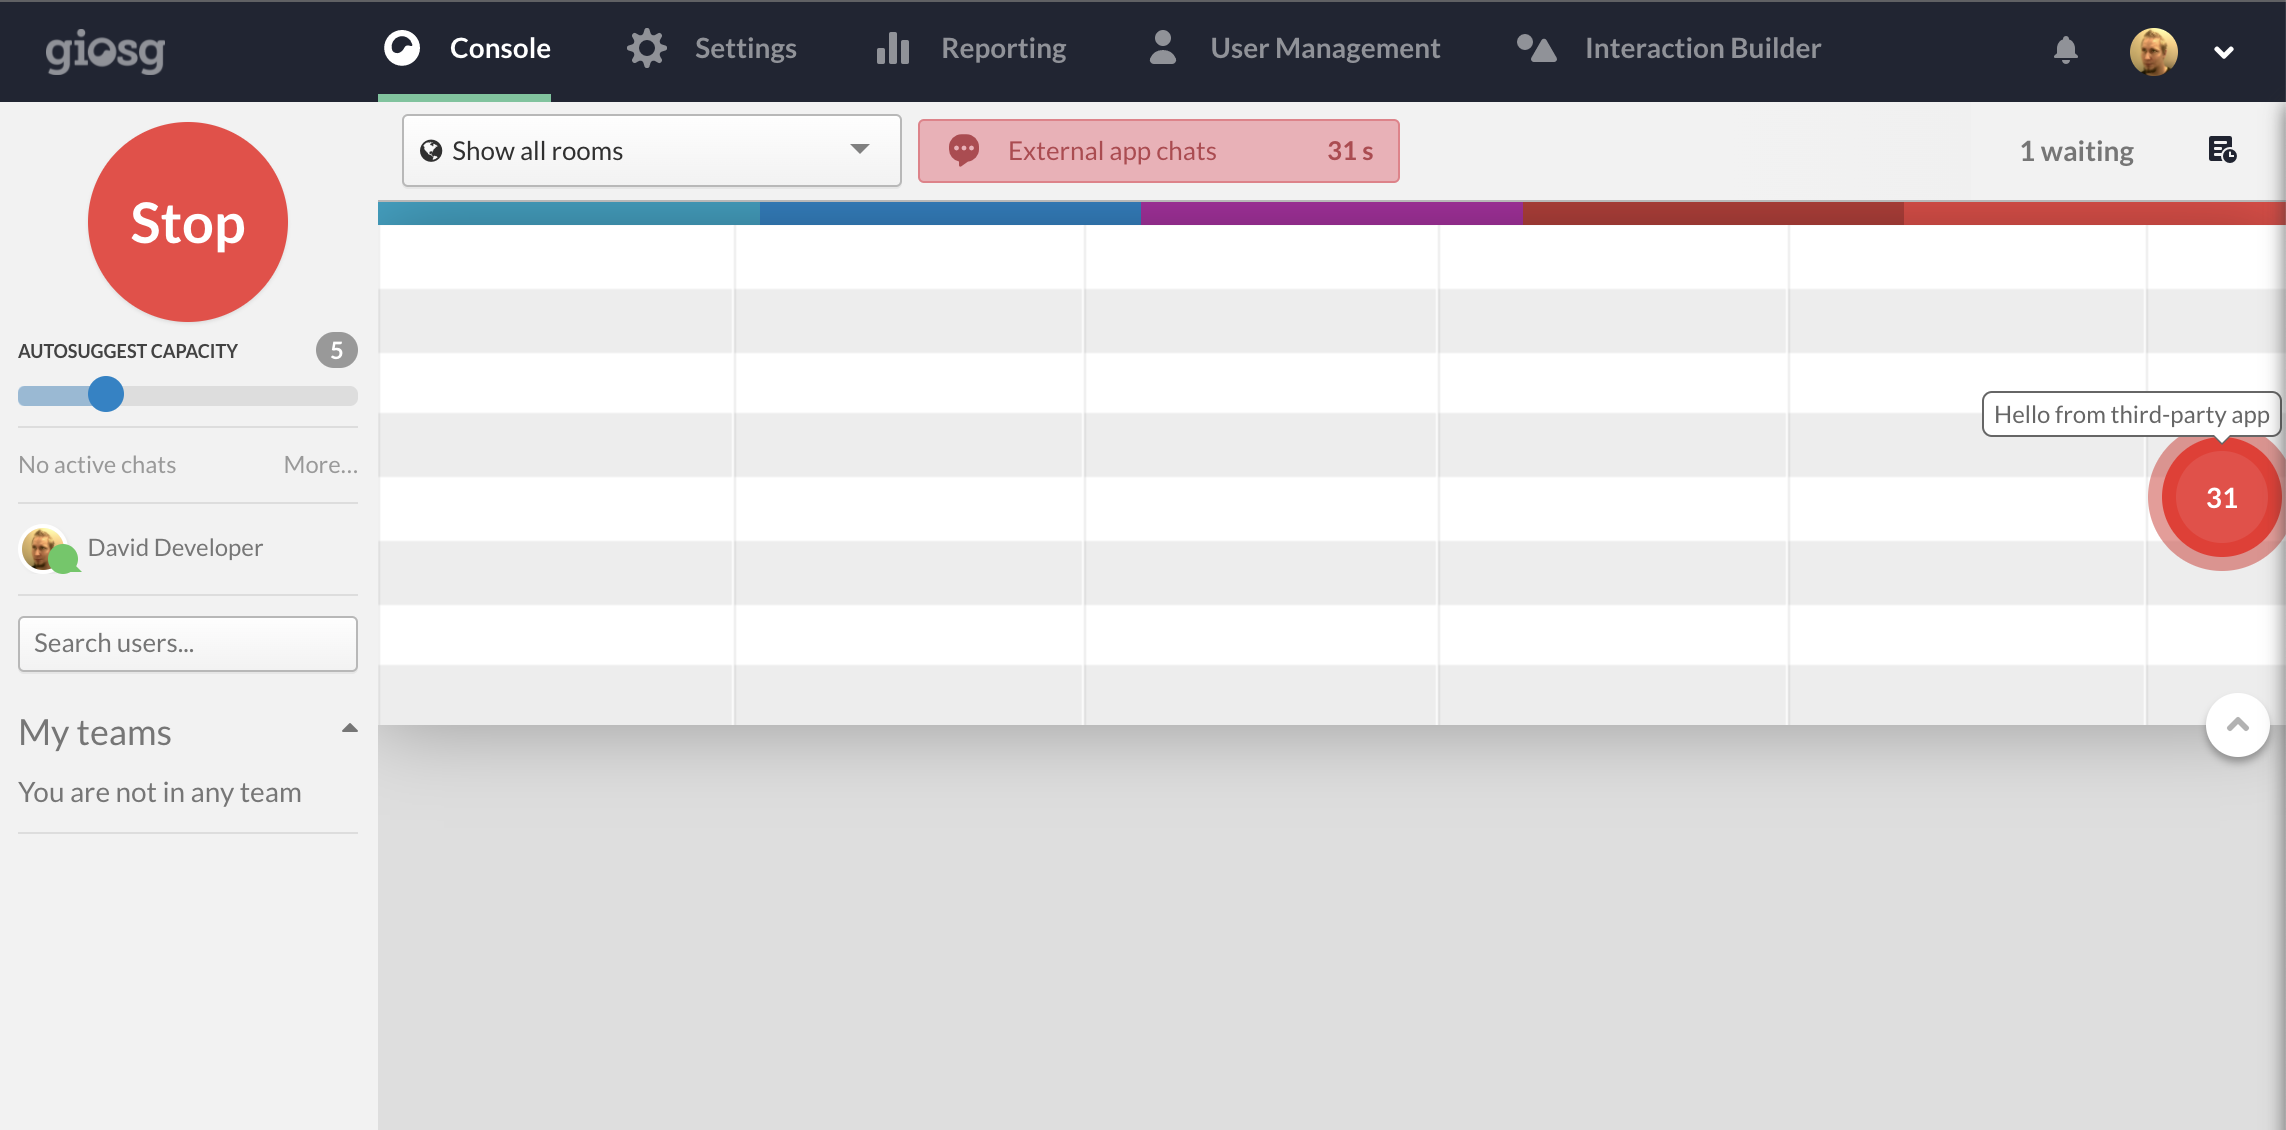
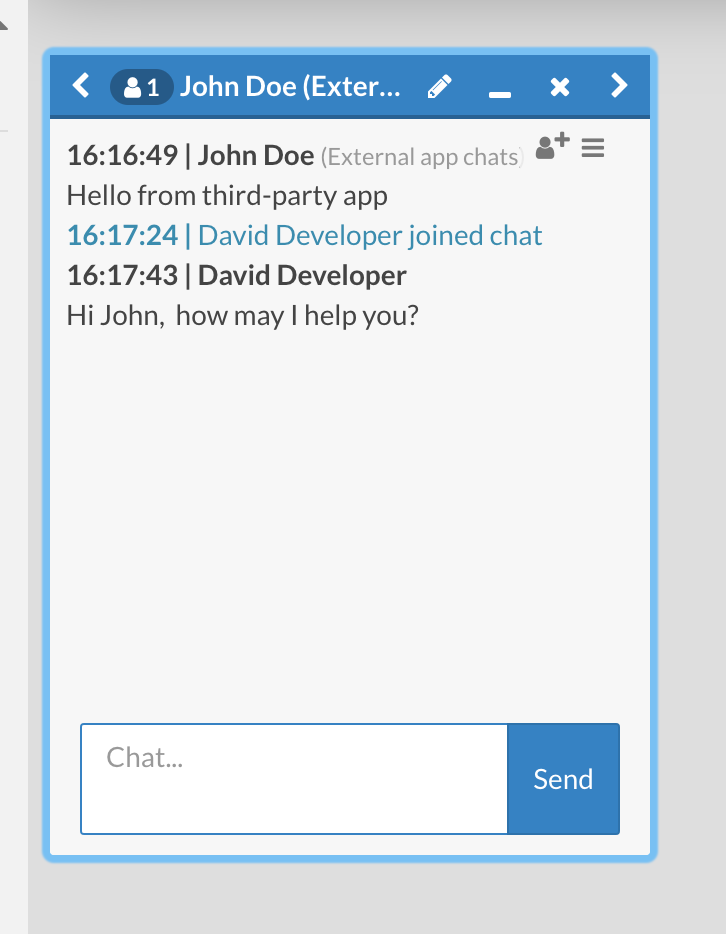
You may now pick-up the pending chat task from the agent console by clicking the "red bubble" and reply to visitor. Note that you also can see the visitor name which you did give in the example application user interface. This is handy if you have authenticated visitors and want to provide more information for agents to serve the visitors. After replying to the visitor message, you should see that the reply is also visible on the example application user interface.
Conclusion
You should now have a understanding how third-party application can be connected into Giosg platform and example application should be up and running. Next you might want to extend the functionality of your third-party application integration by checking if agents are available before offering the ability to start a new conversation. You also should consider different error scenarios that could happen in the process and how to handle those, for example checking if visitors existing chat was already closed and should a new be started instead of continuing the existing chat.
Debugging webhooks
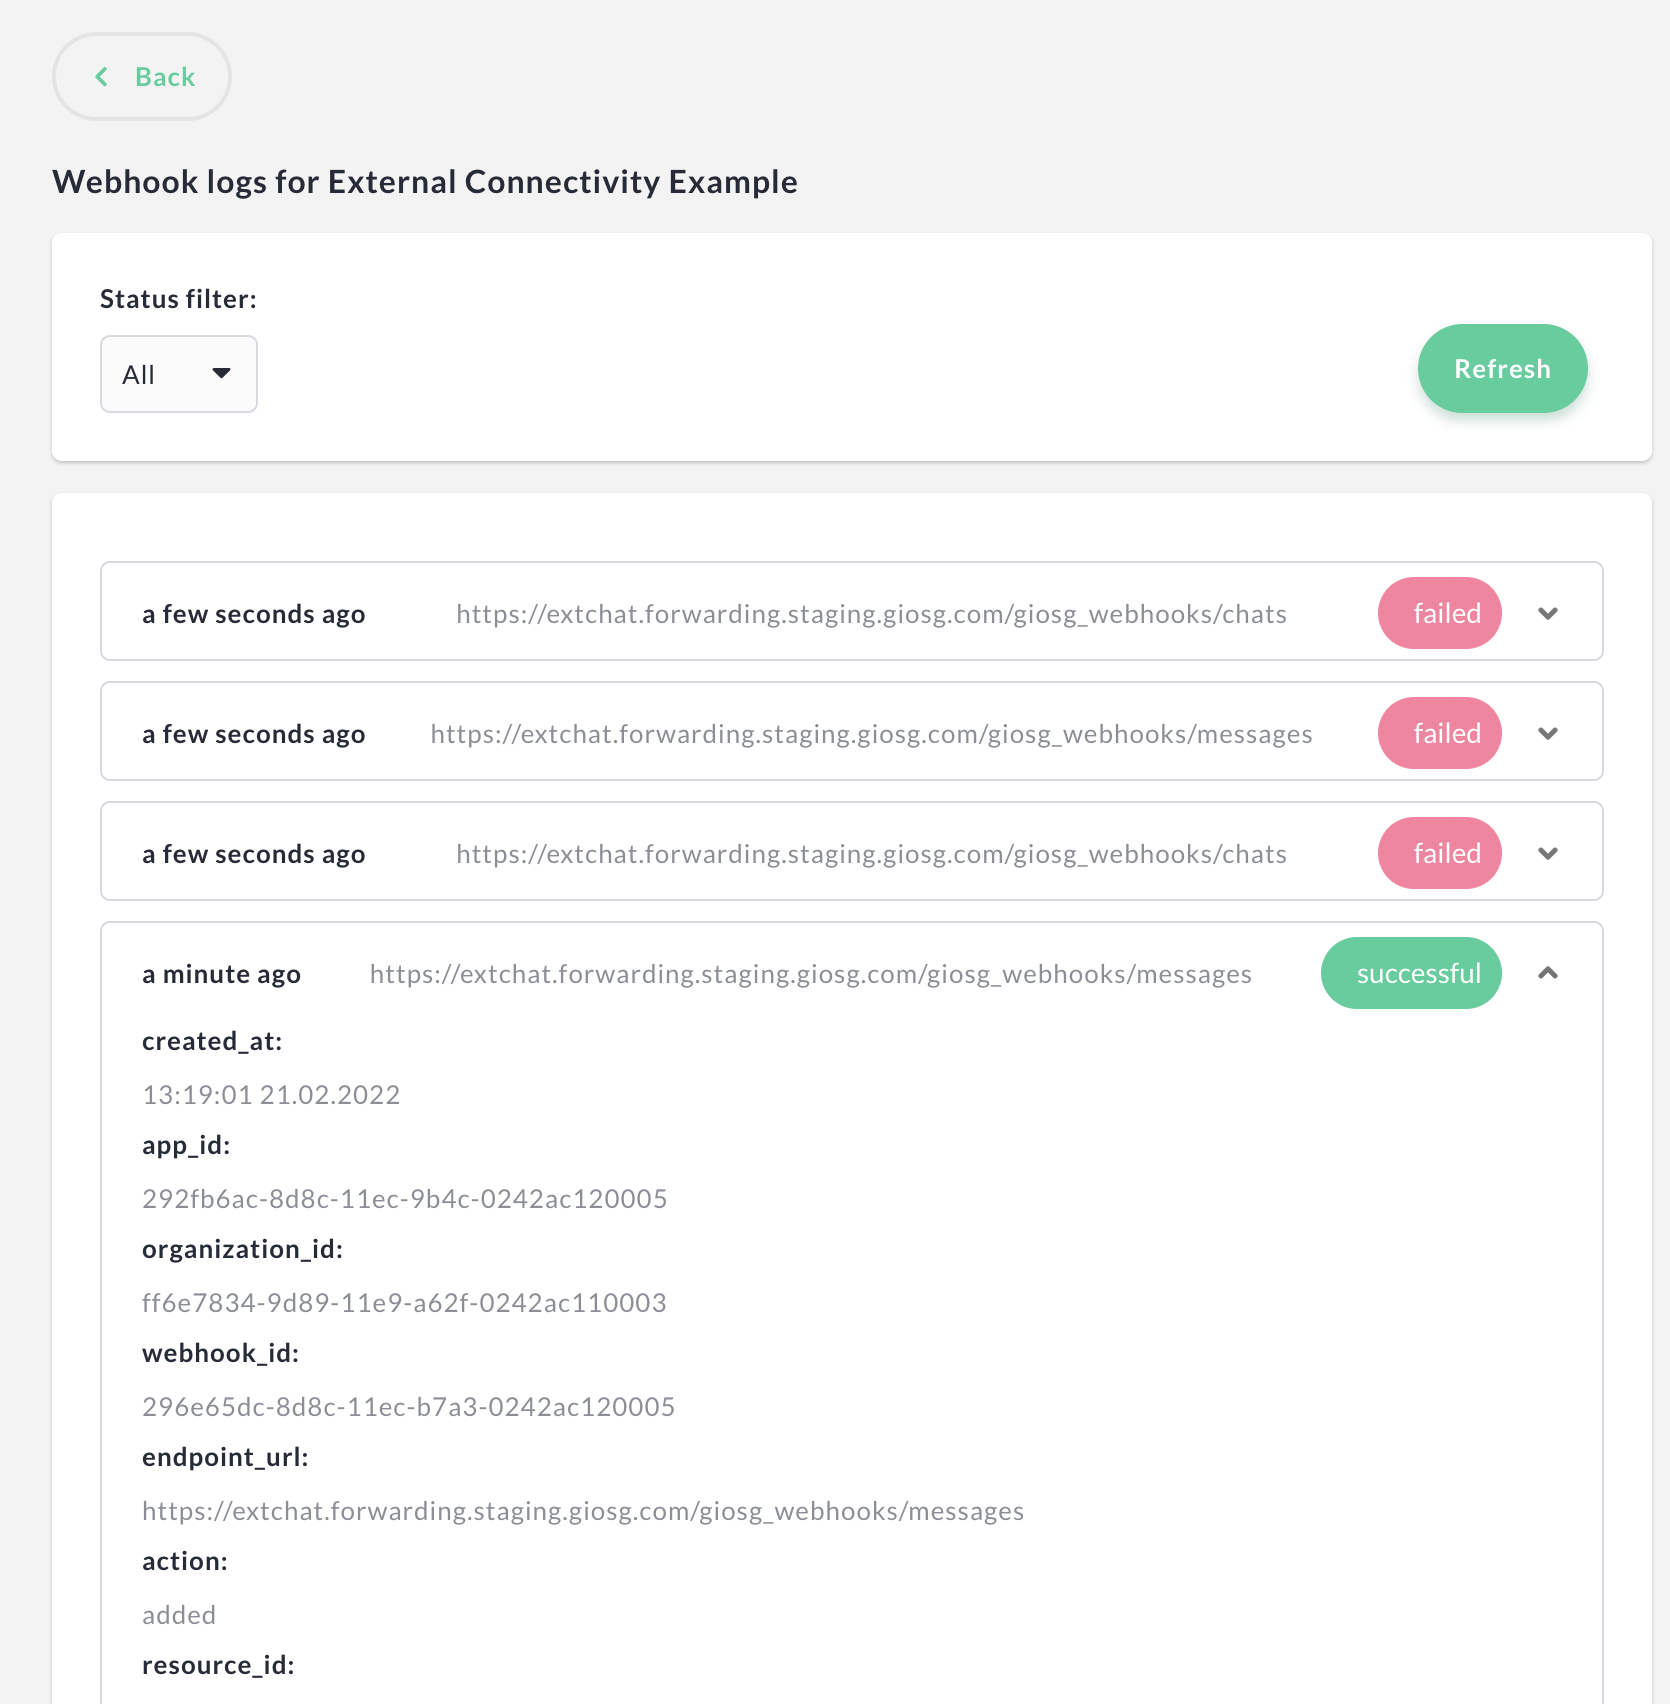
When using webhooks, you might want to see what your application responded to Giosg in case of failure. You can do that by going to application management page and searching for your application. When you find your app, you can click "Owner tools" and select "Webhook logs".
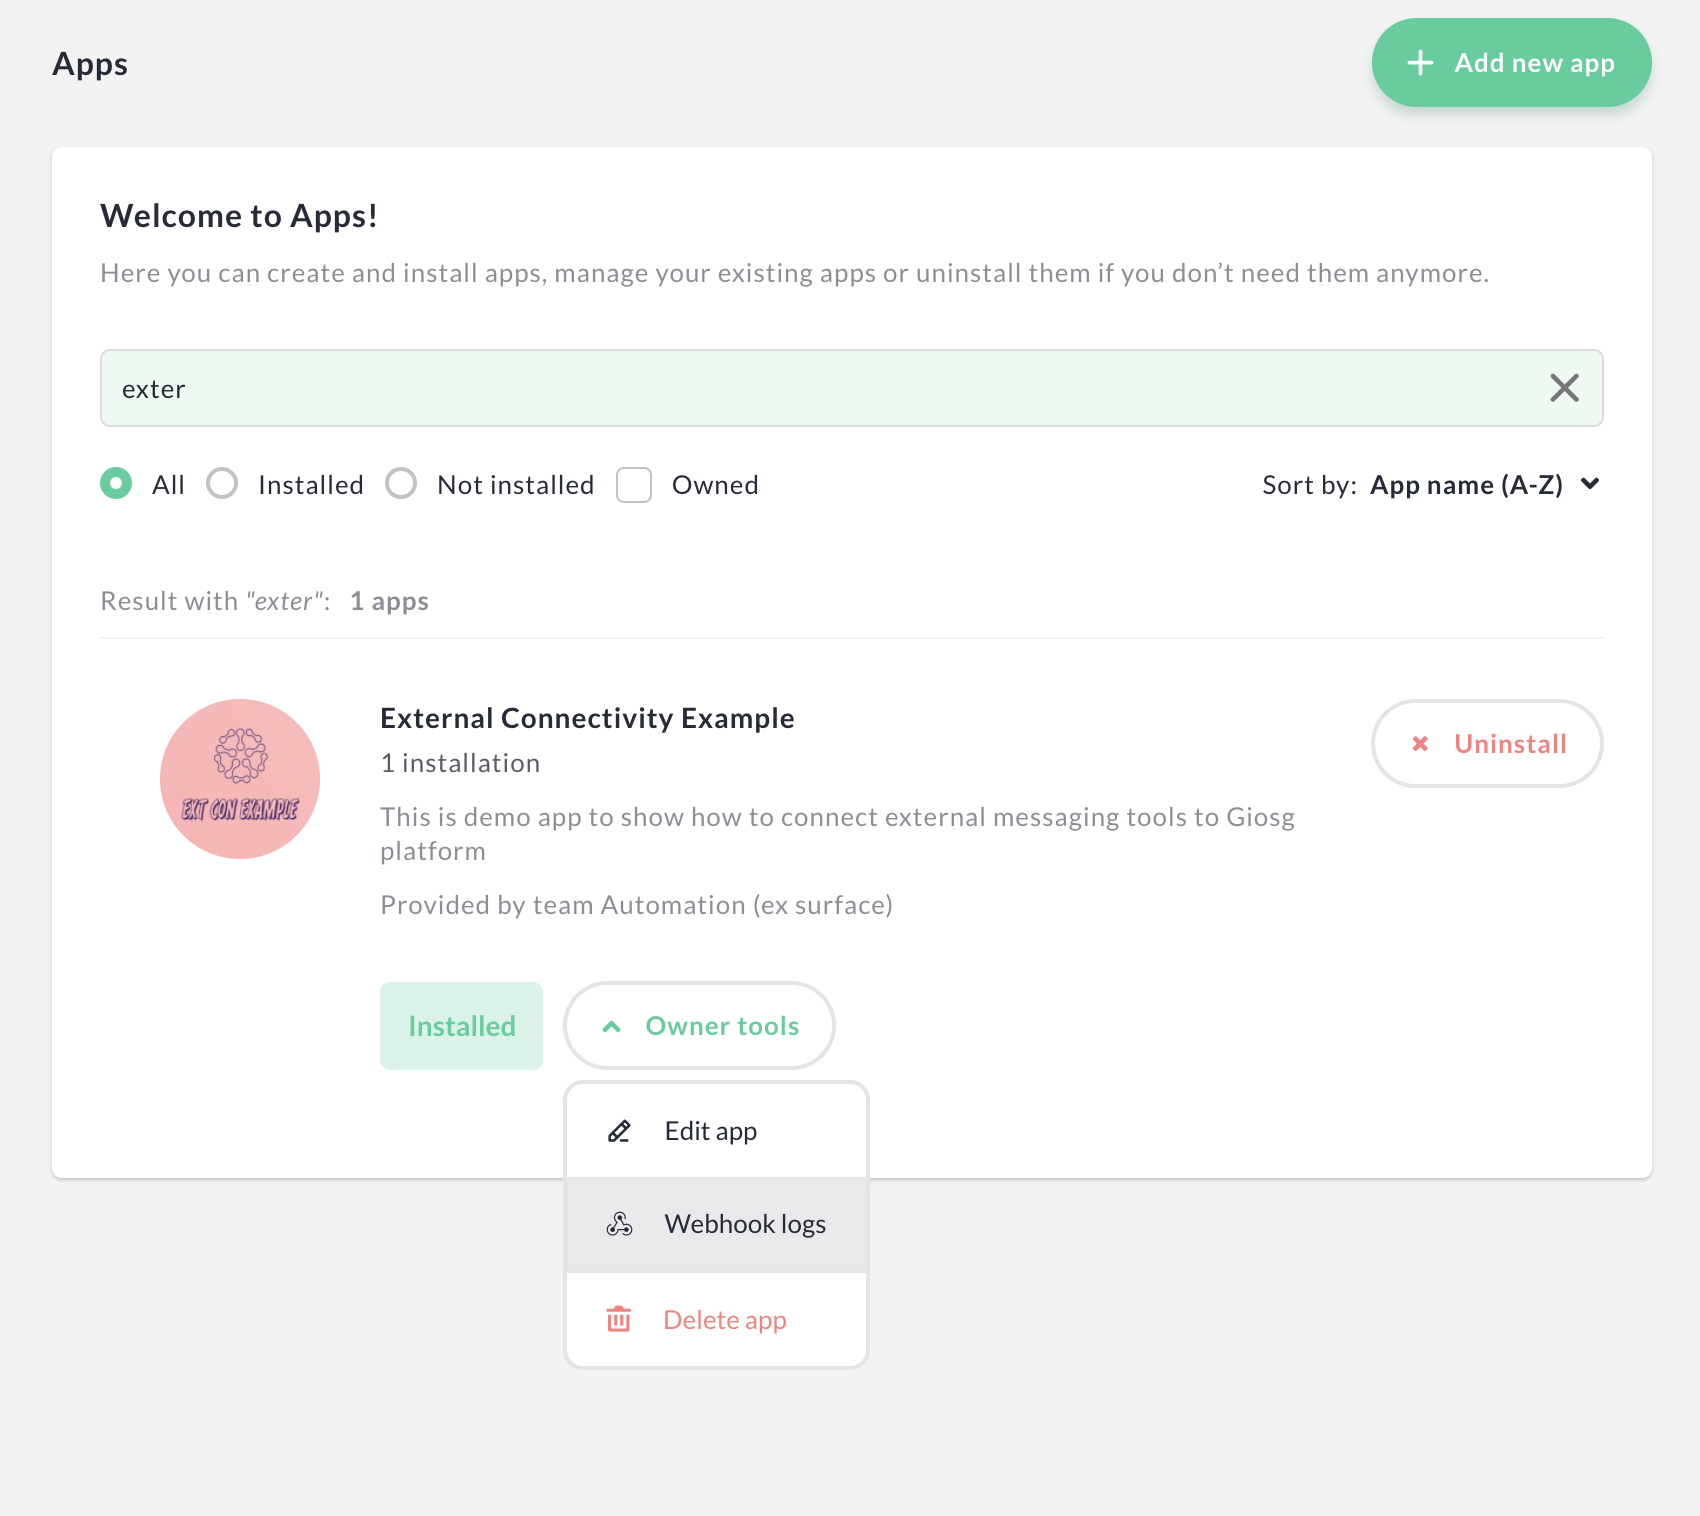
From the webhook log listing you can see which webhooks failed and which succeeded. You can also click open each of the webhooks to inspect more closely what was returned.
Need help?
Go to https://giosg.com and as in a chat and you will be redirected to correct place! 😊
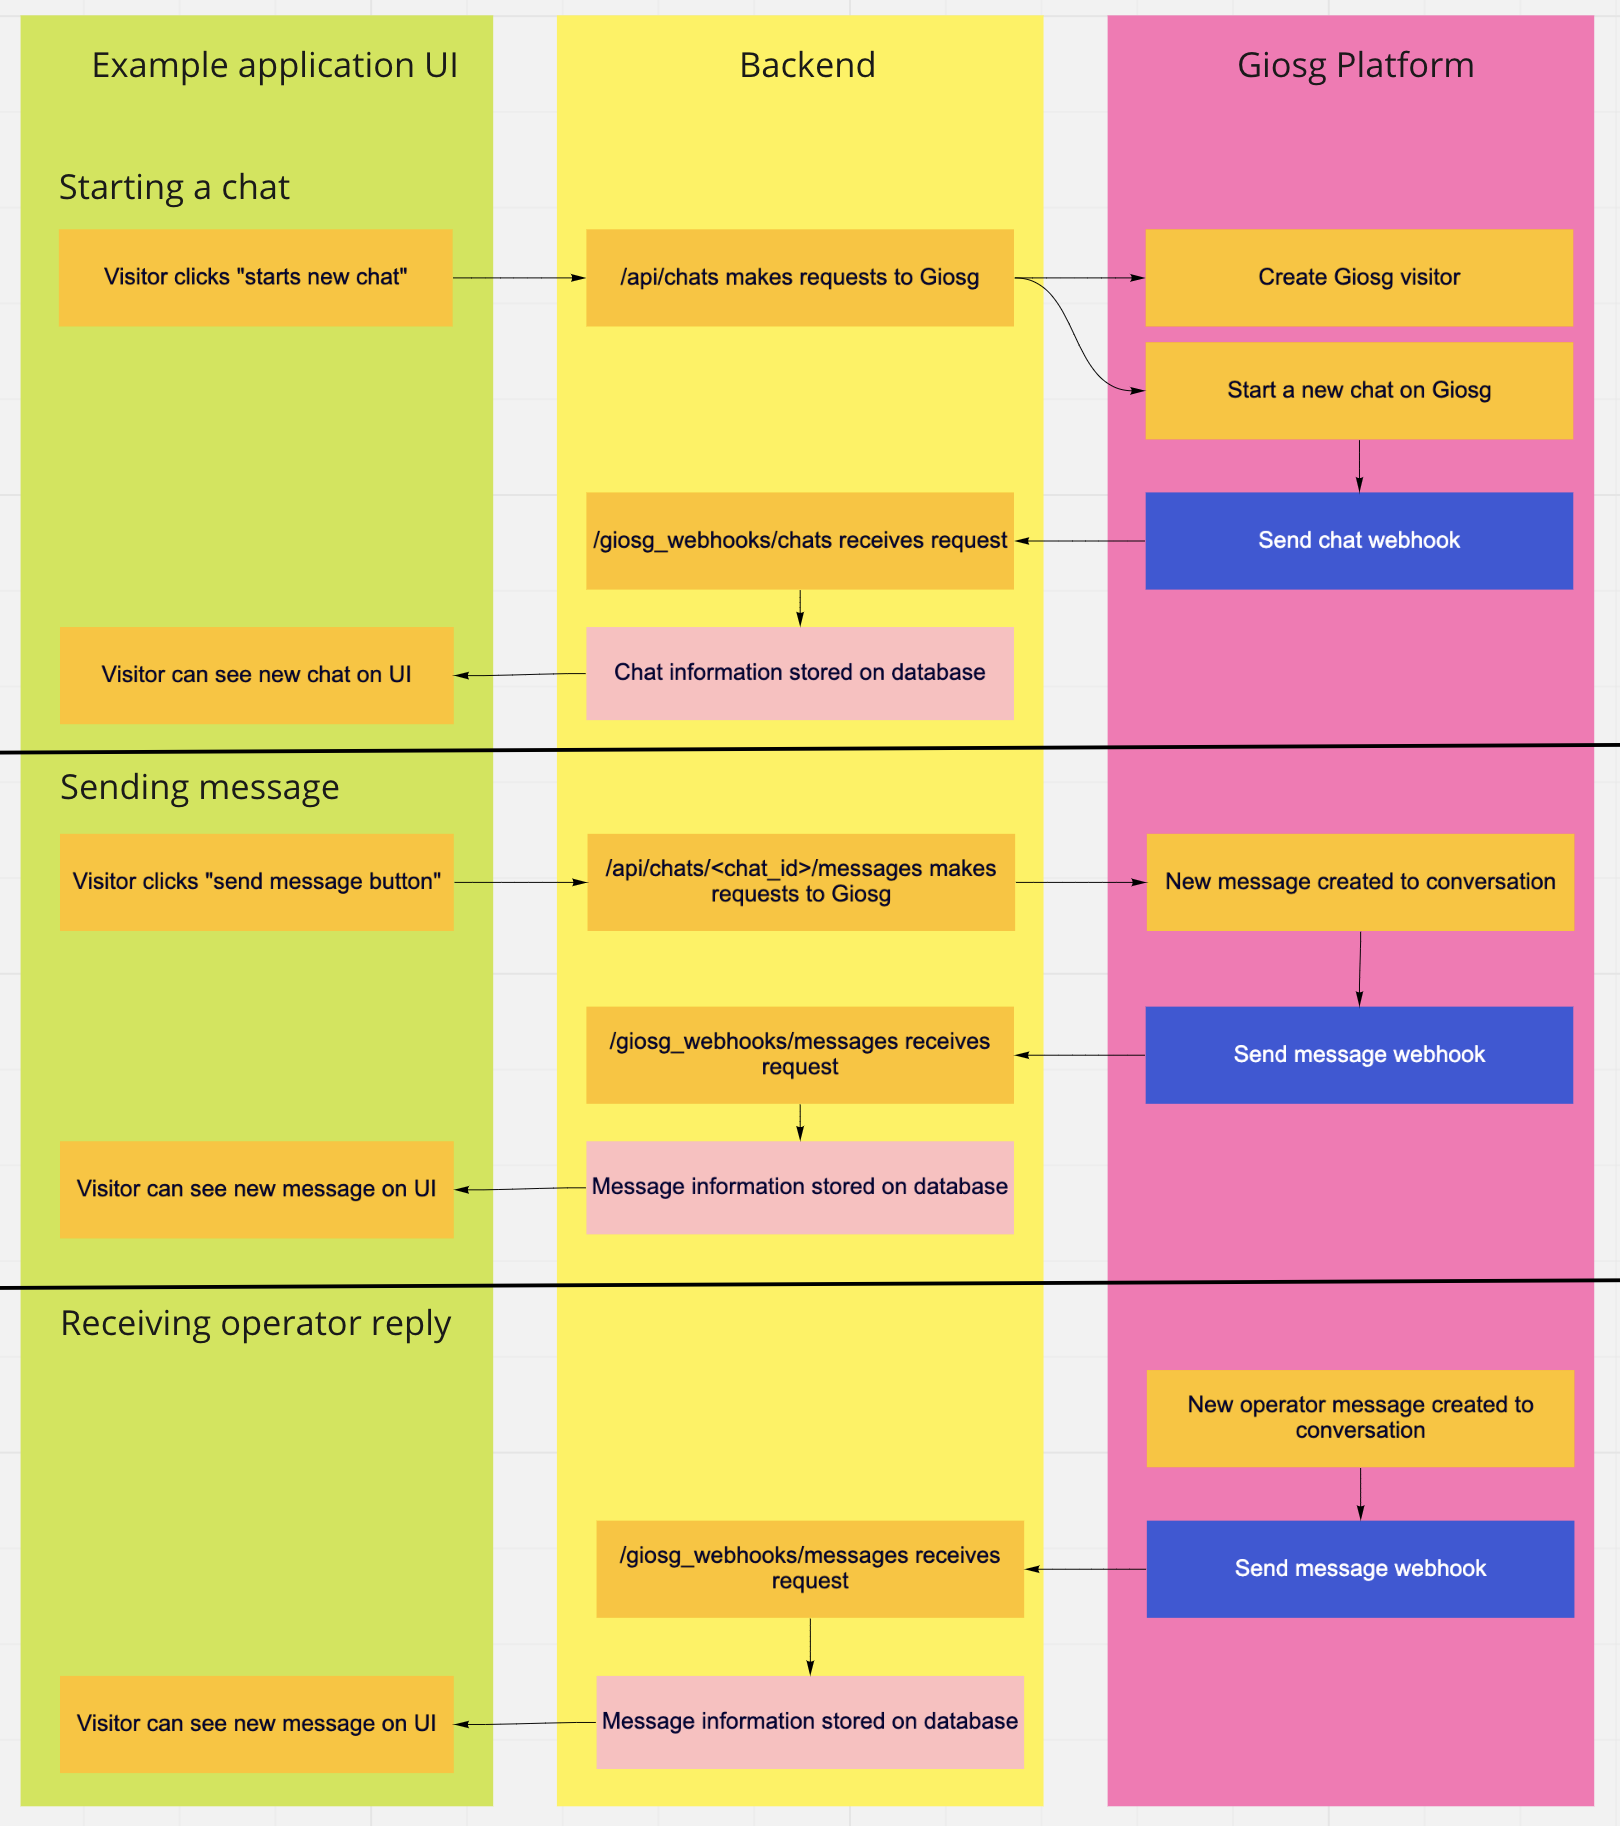
Dataflow of this integration
Endpoints used in this tutorial
Authenticate a new visitor API
Creating a new room visitor API
Create a new chat as visitor API
Send a new chat message as visitor API