Embedding Visitor Dialog
Introduction
Welcome to the Giosg visitor dialog embedding tutorial!
This guide will show you how to embed the Giosg visitor chat dialog directly into an element on your webpage, rather than having it appear as a floating window. This is useful when you want to integrate the chat experience seamlessly into your page layout, such as in a sidebar, footer, or dedicated chat section.
What is Dialog Embedding?
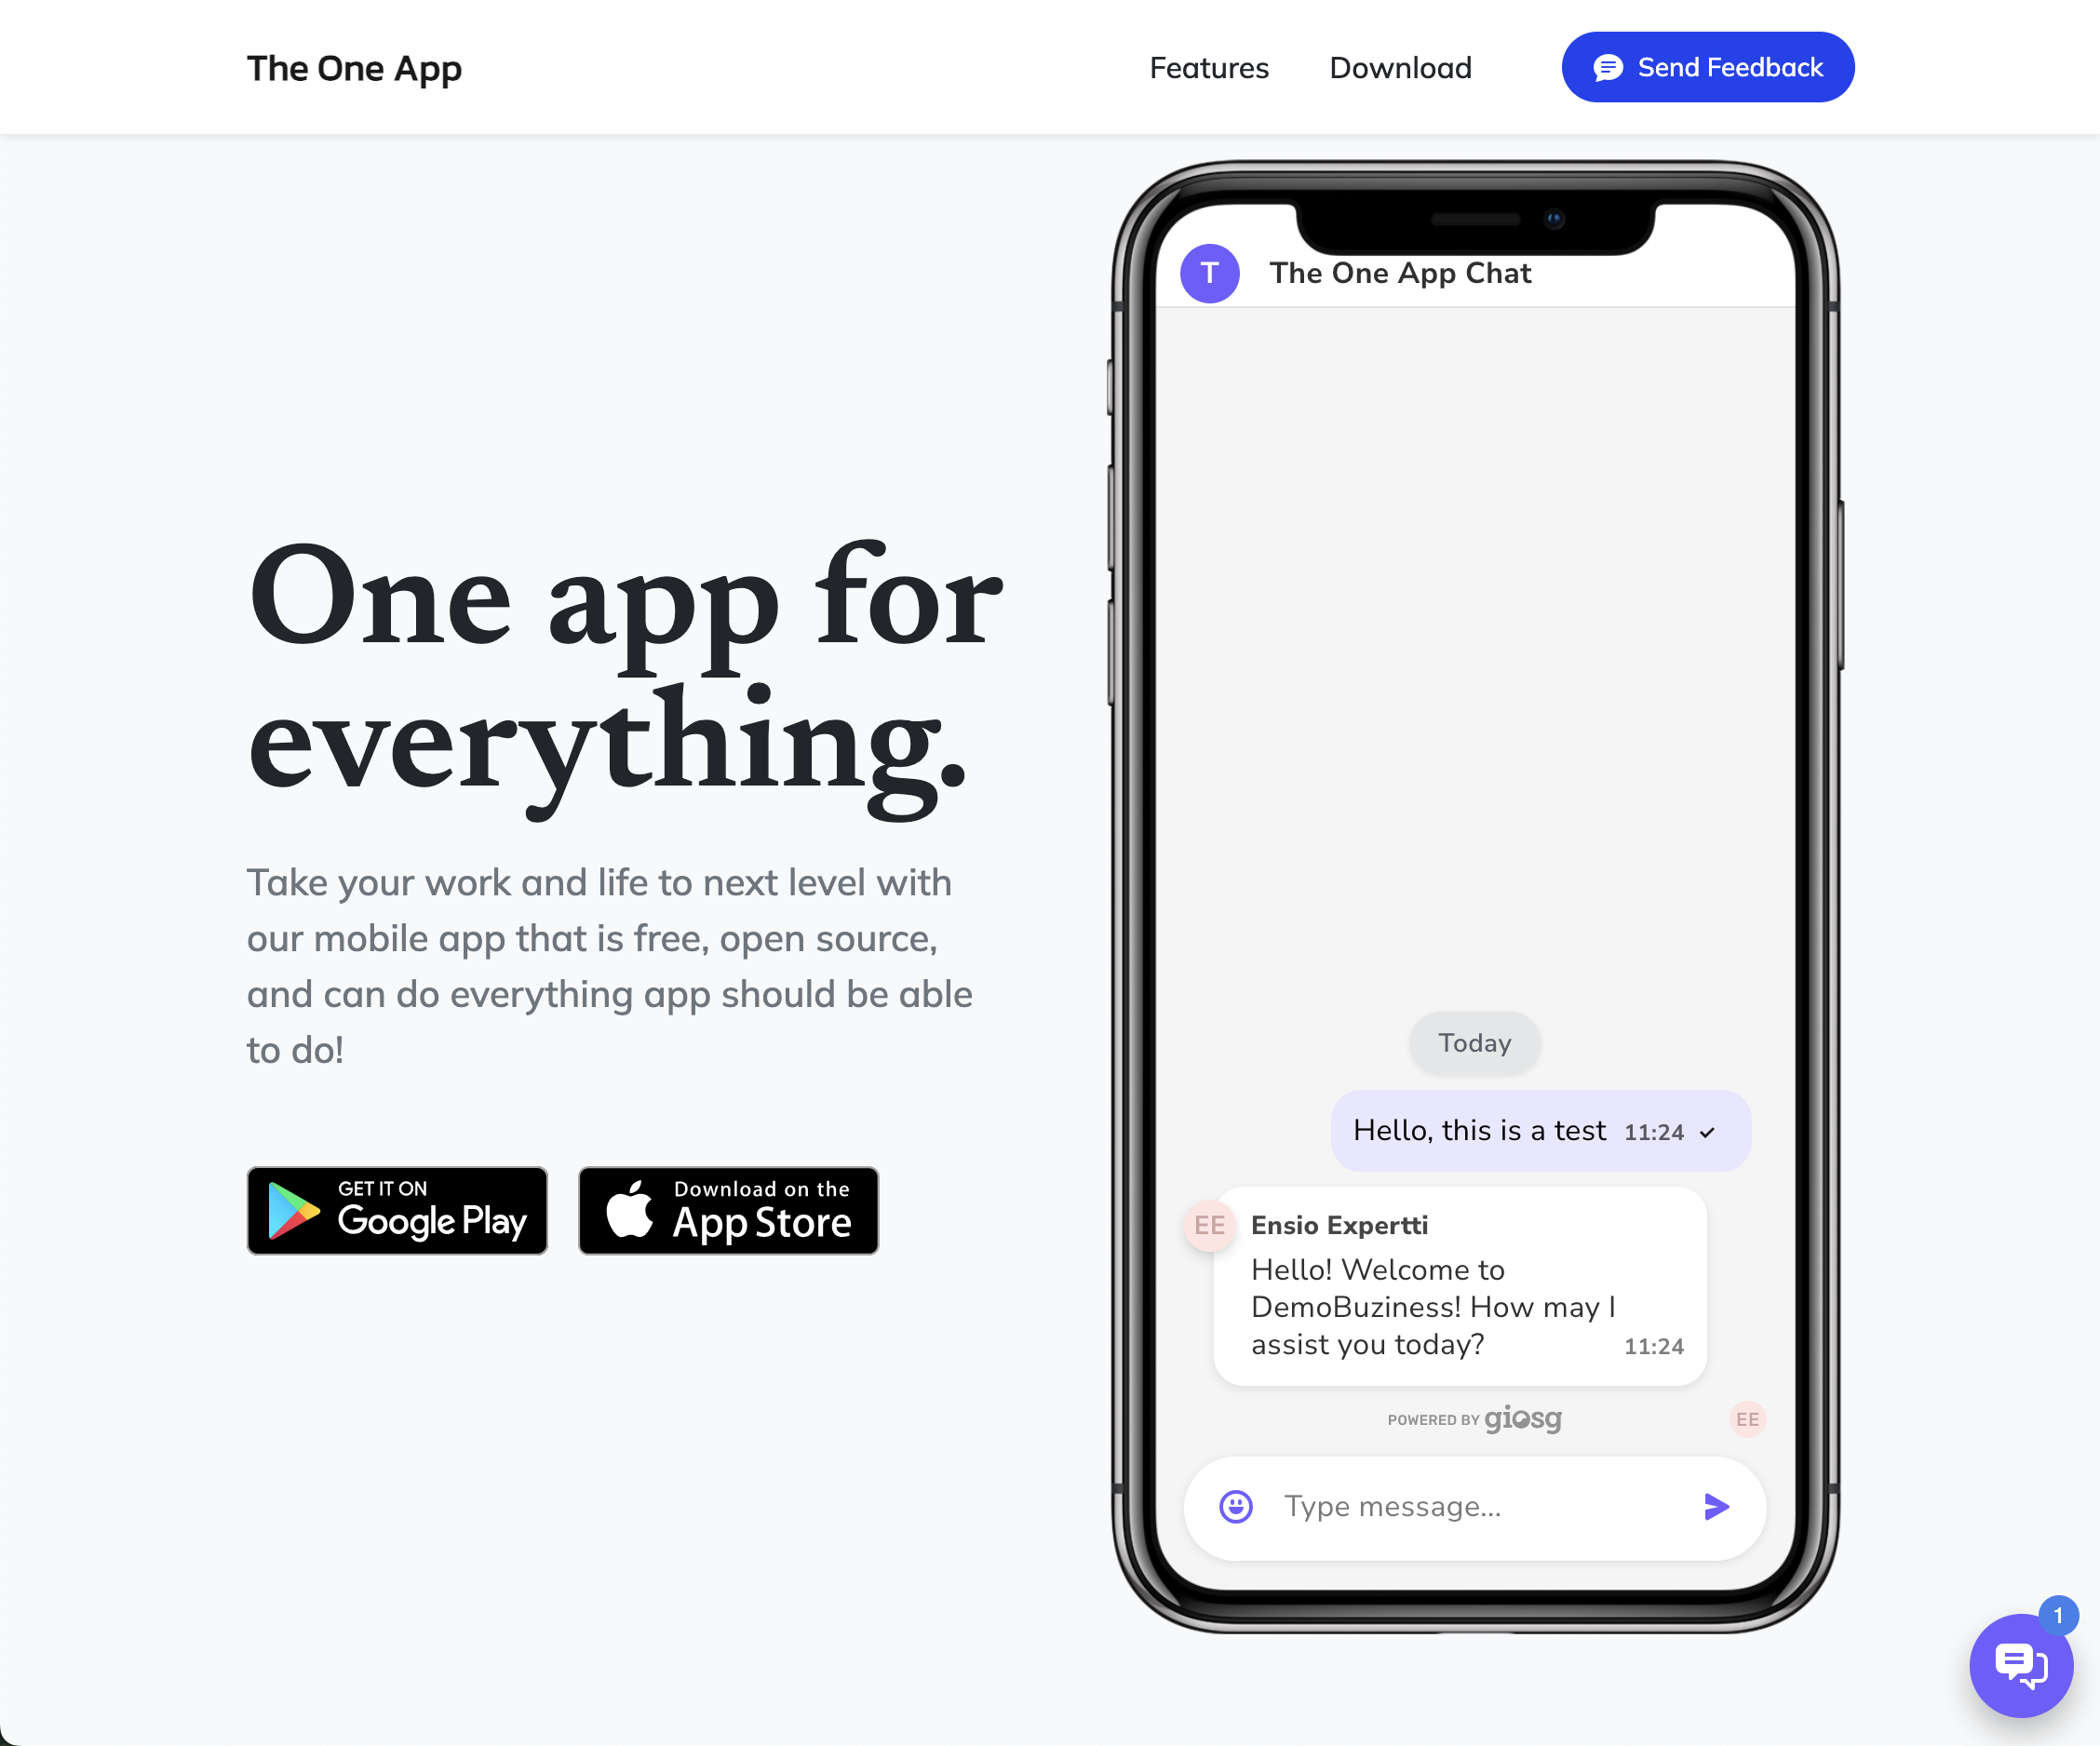
Dialog embedding allows you to display the Giosg visitor chat dialog inside a specific HTML element on your webpage. The embedded dialog provides the full chat functionality while appearing as a native part of your page design.
Key features:
- Full chat functionality within your page layout
- Dialog automatically uses all available space in the target element
- Can coexist with the floating dialog if desired
- Responsive to the target element's size
Embedding Methods
There are two ways to embed the Giosg visitor dialog into your webpage:
Method 1: Automatic Embedding with CSS Class
The simplest way is to add a div element with the class name giosg-chat-embed-placeholder-v2 to your page. The Giosg script will automatically detect this element and embed the dialog into it.
1 2 3 4 5 6 7 8 9 10 11 12 13 14 15 16 17 18 19 20 21 22 23 24 25 26 27 28 29 | |
Method 2: JavaScript API
For more control over when and where the dialog is embedded, you can use the JavaScript API. This method is useful when you need to dynamically embed the dialog based on user actions or specific conditions.
1 2 3 4 5 6 7 8 9 10 11 12 13 14 15 16 17 18 19 20 21 22 23 24 25 26 27 28 29 30 31 32 33 34 35 36 | |
Important
Always wrap your giosg.embedDialog() call inside the _giosg() function. This ensures that the Giosg script has fully loaded before attempting to embed the dialog.
Controlling Dialog Size
The embedded dialog will automatically fill all available space in its container element. You can control the size and appearance of the dialog by styling the target element.
Fixed Size Example
1 2 3 4 5 6 7 8 9 10 11 | |
Responsive Example
1 2 3 4 5 6 7 8 9 10 11 12 13 14 15 16 | |
Full Height Example
1 2 3 4 5 6 7 8 9 10 11 12 | |
Using Multiple Dialogs
You can have both the embedded dialog and the floating dialog open simultaneously on your website. This can be useful for providing multiple chat access points for your visitors.
With this setup:
- The embedded chat dialog appears within the page content
- The floating chat button remains available in the corner
- Visitors can use either interface based on their preference
Best Practices
-
Set explicit dimensions: Always define width and height for your container element to ensure proper display.
-
Use the
_giosg()wrapper: When using the JavaScript API, always wrap your code in the_giosg()function to ensure the script is loaded. -
Consider mobile responsiveness: Use responsive CSS units and media queries to ensure the embedded dialog works well on all devices.
-
Test visibility: Ensure your container element is visible and properly positioned in your layout.
-
Avoid z-index conflicts: If using fixed or absolute positioning, ensure your z-index values don't conflict with other page elements.
Troubleshooting
Dialog Not Appearing
- Check that the Giosg script is loading correctly
- Verify your container element exists in the DOM before calling the embed function
- Verify your container element has explicit dimensions (width and height)
- Ensure the container element is visible (not
display: noneorvisibility: hidden) - Check browser console for any JavaScript errors